
Last updated November 4, 2026
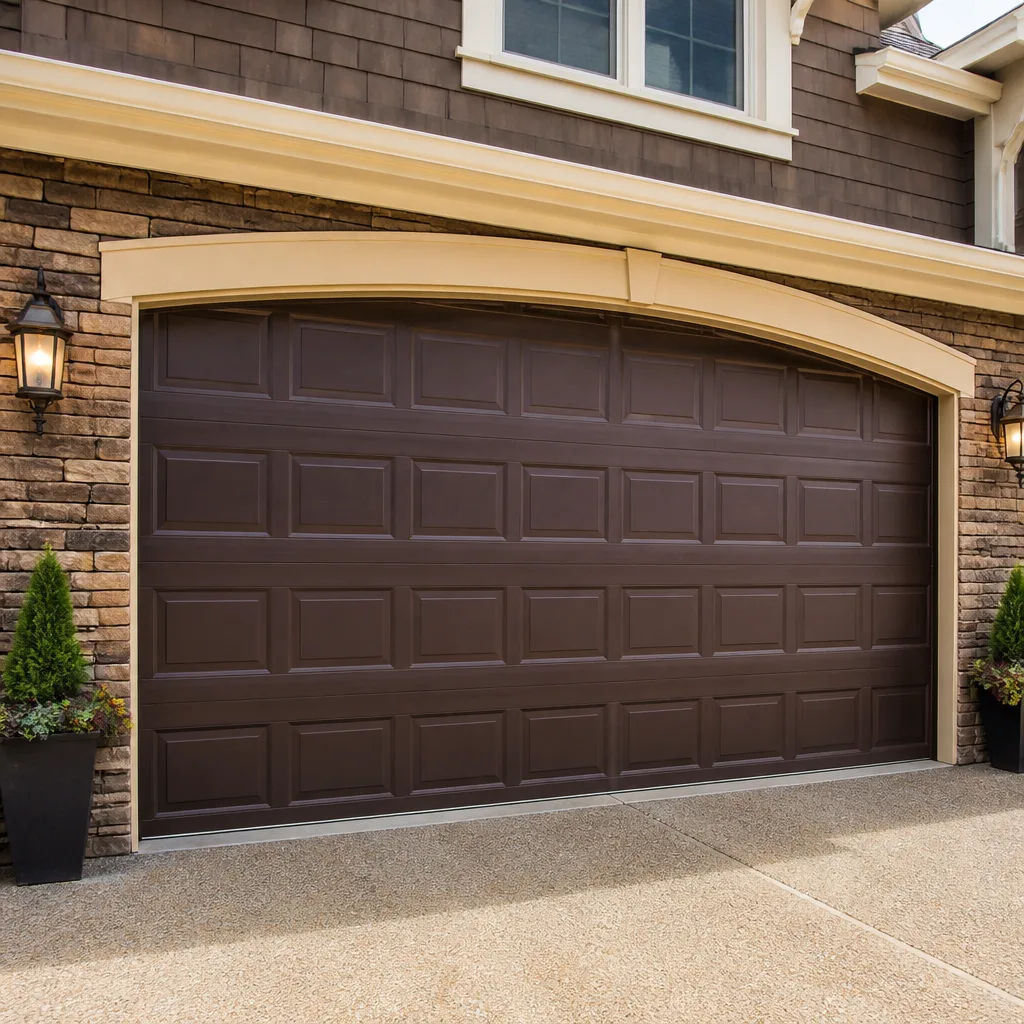 Raised-panel steel
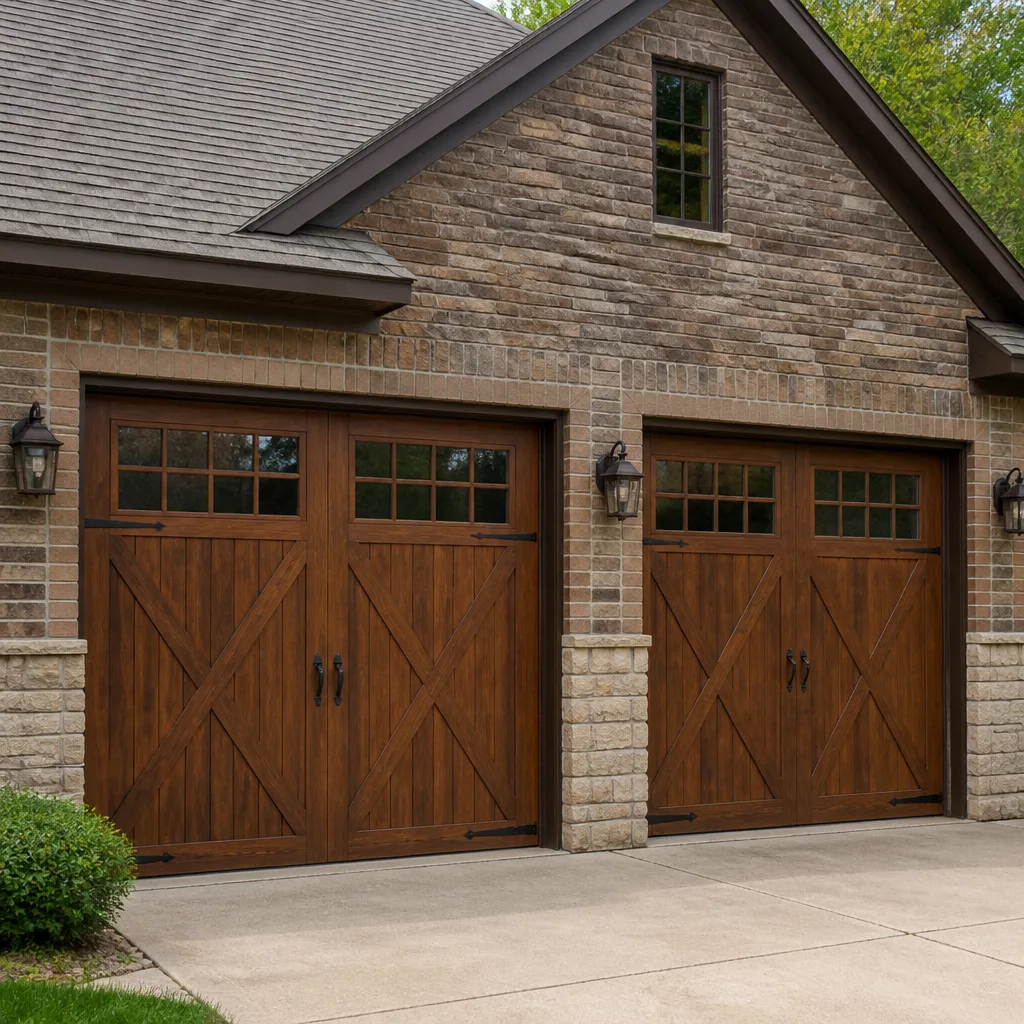 Carriage house
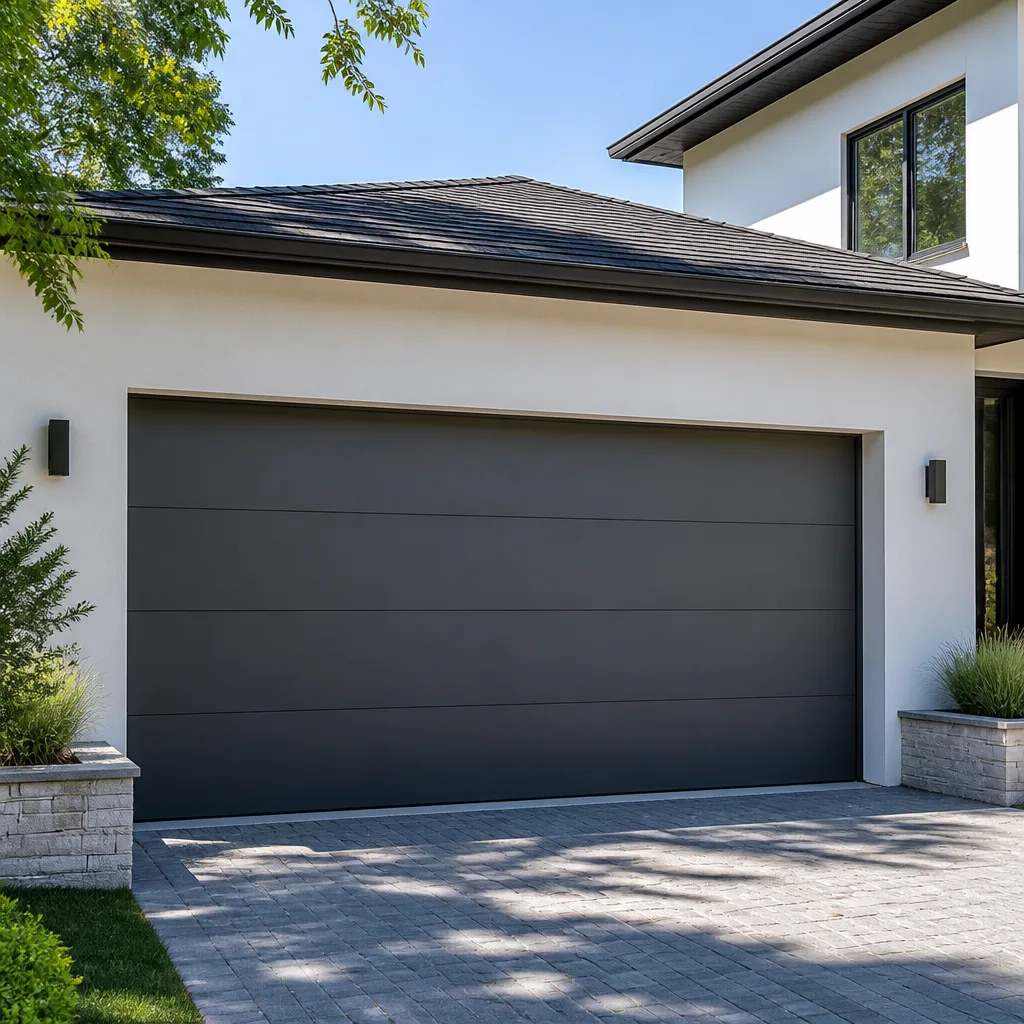 Modern flush
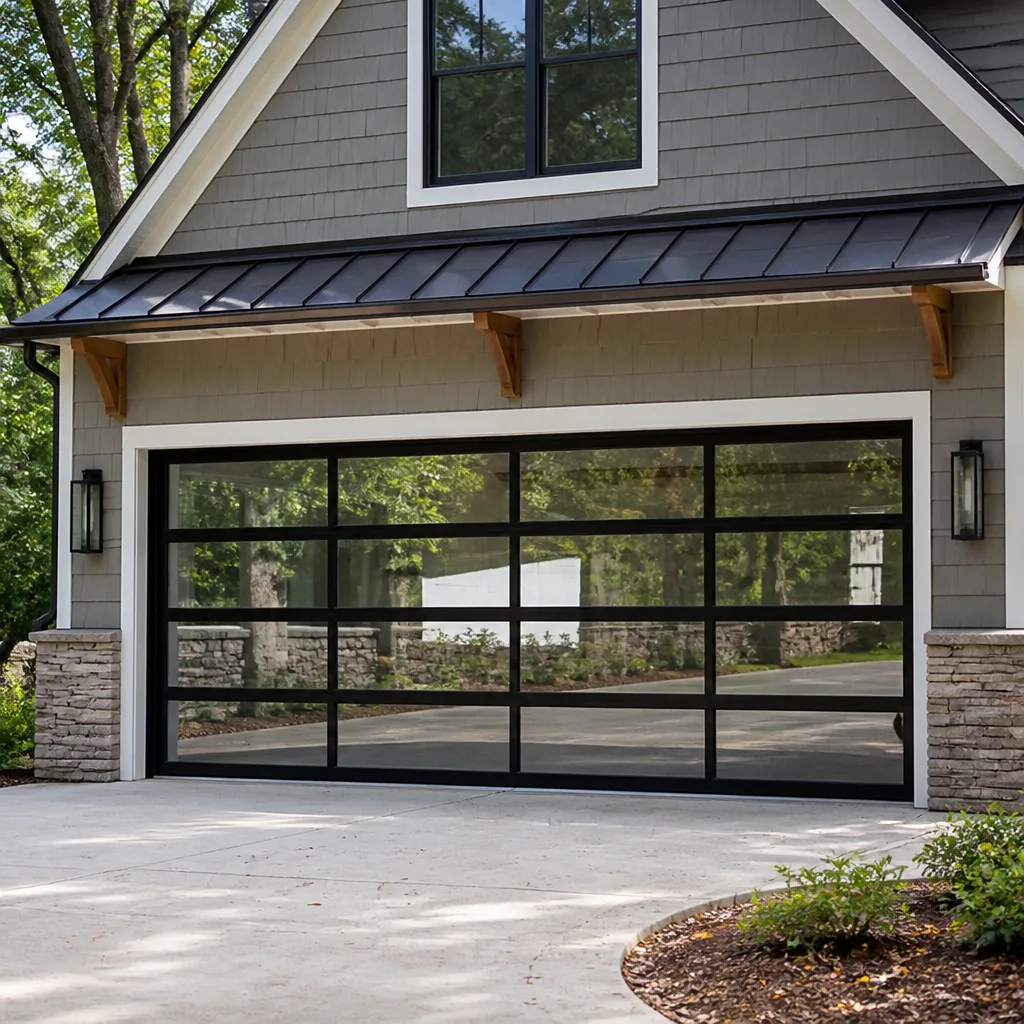 Full-view glass
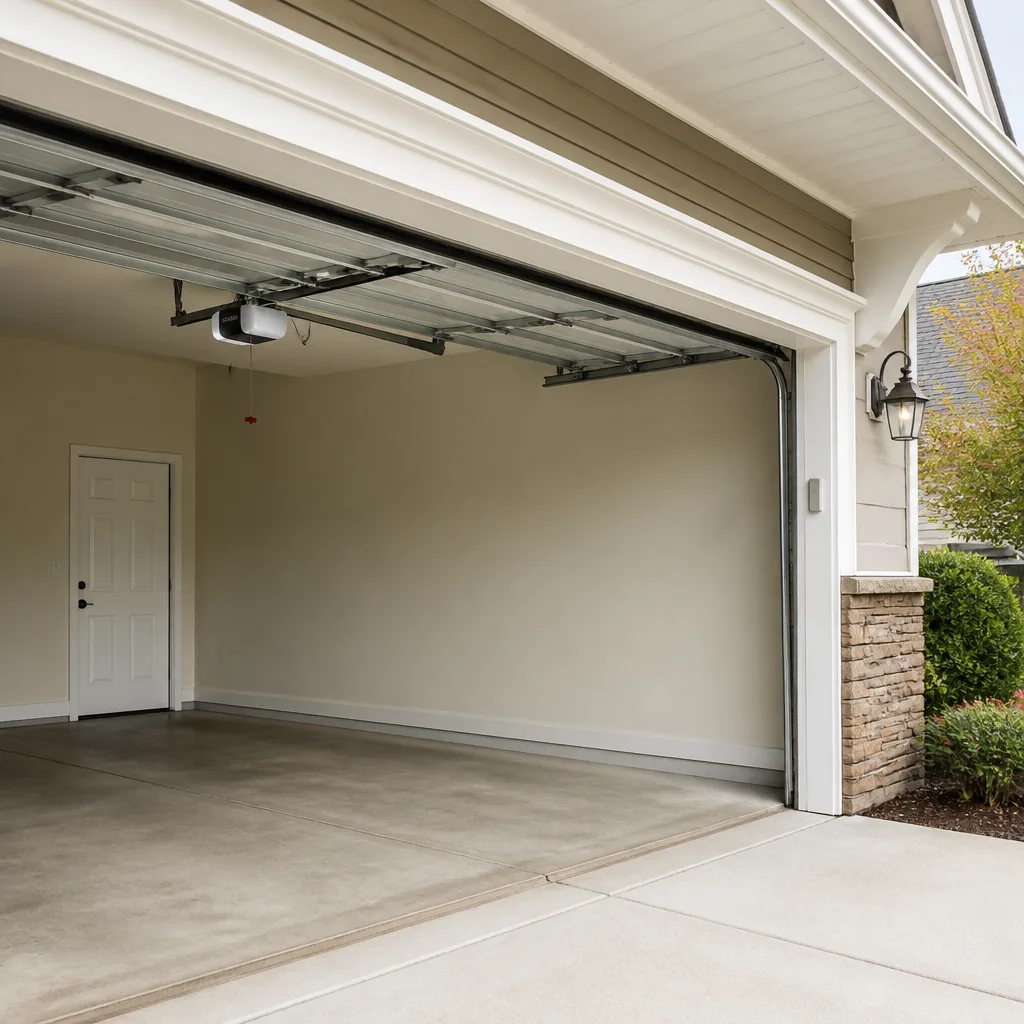 LiftMaster openers
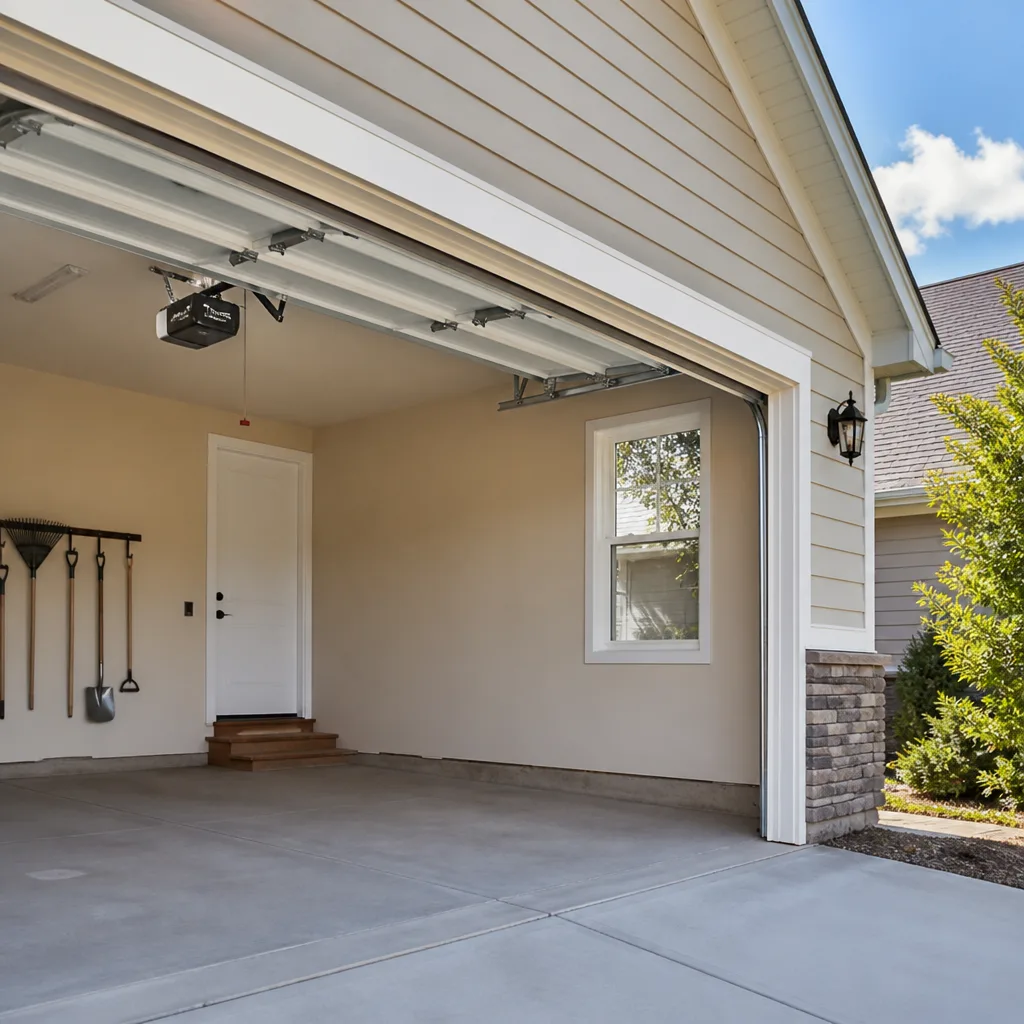 Chamberlain openers
Full 25-point door and opener safety check with every visit - springs, cables, rollers, tracks, and your LiftMaster or Chamberlain opener included
You get a price before we start. It does not change when the truck arrives.
Get your free estimateGarage Door Repair Maintenance Checklist for Yorba Linda Homeowners
Most maintenance checklists are brand-marketing dressed up as advice. They tell you to lubricate once a year and check the remote batteries. Fine. But the number-one reason Yorba Linda garage doors fail before their rated lifespan isn’t broken springs or a dead opener. It’s dried-out rollers combined with a cable that’s been fraying quietly for eighteen months. Neither one shows up on the generic “lubricate once a year” list until the door is already off its track and sitting crooked in the opening. This guide is built from what we actually see on service calls here in Yorba Linda, ranked by how often each problem ends a door’s functional life prematurely. You’ll learn what to check monthly, what to inspect twice a year, what to touch annually, and which parts you should never put lubricant on, no matter what the can says.
Styles & brands we work with
- Raised-panel steel
- Carriage house
- Modern flush
- Full-view glass
- LiftMaster openers
- Chamberlain openers
Quick Answer
A Yorba Linda garage door maintenance checklist should cover three frequencies: monthly visual checks of cables, rollers, and balance; twice-annual lubrication of specific moving parts and inspection of the bottom seal for UV damage; and annual testing of the auto-reverse mechanism, opener force settings, and door alignment. The tasks that prevent most premature failures are roller and cable inspections done consistently, not the annual lubrication everyone already does.
Table of Contents
- Monthly Maintenance Checklist for Yorba Linda Garage Doors
- What to Lubricate and What to Leave Alone
- How to Inspect Garage Door Cables with Just a Flashlight
- Bottom Seal and Weatherstripping in Yorba Linda’s Summer Heat
- Which Maintenance Tasks Protect Your Warranty and Which Void It
- Biannual and Annual Garage Door Maintenance Steps
- Common Mistakes to Avoid
- When to Call a Professional
- Frequently Asked Questions
- The Bottom Line
Monthly Maintenance Checklist for Yorba Linda Garage Doors
The monthly pass takes about five minutes. It is not about fixing anything. It is about catching the first sign that something is about to become expensive. In Yorba Linda, where garage doors cycle open and closed more often during the school year and summer activity season, small problems accelerate fast. A roller that has lost its bearing grease goes from noisy to seized quickly when the door runs four or five times a day.
Here is what to look at every month:
- Listen for changes in the door’s sound. A healthy door is steady. A rhythmic thump, a squeak that comes from one side only, or a grinding note at the top of the opening arc all point to specific parts. Squeaking near the hinges means dry metal. A thump usually means a roller. Grinding along the track edge points to a roller that has stopped rolling and is now sliding.
- Watch the door move from inside the garage. Stand to the side, not directly under the door. Look at the gap between the door edge and the vertical track. It should stay even on both sides. If one side drifts or the door hesitates on one end, the cable tension or spring balance is shifting.
- Check the rollers. You need a flashlight for this. Look at each roller where it meets the track. A roller that is cracked, wobbling on its stem, or leaving black dust on the track is finished. Nylon rollers wear at the bearing, not the outer wheel. Steel rollers wear at the stem.
- Eyeball the cables. The lift cables run up both sides from the bottom bracket to the drum above the spring. Run your eyes along each one. You are looking for a single broken strand that catches the light, rust staining, or a section that looks fuzzy compared to the rest. The section near the bottom bracket is where most fraying starts.
- Test the balance manually. Pull the red emergency release rope so the door operates by hand. Raise it halfway and let go. It should hold position. If it slides down or wants to climb, the springs have lost tension. Do this once a month. It takes thirty seconds and tells you more about the door’s mechanical health than anything else on this list.
What we have seen in Yorba Linda service calls is that homeowners who do this monthly pass catch cables and rollers early. The ones who skip it find out when the door stops opening on a Sunday evening with the car inside. Sierra Garage Door Service handles garage door repair for all the major brands, and the pattern is consistent: early detection on the monthly check is the difference between a $30 roller replacement and a full cable-and-roller job.
What to Lubricate and What to Leave Alone
This is where most homeowners go wrong. Garage doors have parts that need lubrication and parts that are ruined by it. The confusion comes from manufacturer manuals that say “lubricate all moving parts” without explaining which parts and why. A garage door has more than a dozen pivot points, and not all of them should see oil.
What to lubricate twice a year:
- Rollers, but only the bearings. If your rollers are nylon with exposed ball bearings on the stem, a drop of garage-door-specific lubricant or white lithium on each bearing keeps them rolling. If the rollers have sealed bearings, you cannot lubricate them, and you should not try. If you have old steel rollers with no bearing at all, lubrication does nothing for them. Replace them.
- Hinges at the pivot pin. Each hinge where two door panels meet has a pin. A small amount of lubricant on the pin works into the joint and reduces metal-on-metal wear.
- The torsion spring. On a torsion spring door, the spring above the opening needs a light coating of lubricant along its length. This is not about movement. It is about preventing surface rust and the friction inside the coil as it winds and unwinds. A dry spring grinds against itself and loses tension faster.
- The top of each vertical track where the roller enters the horizontal radius. A light film helps the roller turn the corner smoothly. You are lubricating the contact point, not the whole track.
What you should never lubricate:
- The track itself. This is the most common mistake. Greasing or oiling the tracks does not help the rollers. It collects dust, dead bugs, and spider webs, and creates a paste that increases friction. Tracks should be clean and dry. If the track looks dull or wiped, wipe it with a dry rag. That’s all.
- The belt on a belt-drive opener. A belt-drive opener from LiftMaster or Chamberlain uses a reinforced rubber belt. Lubricating it softens the rubber, causes slippage, and shortens its life. If the belt is noisy, the issue is the tension or a worn pulley, not dryness.
- The chain on a chain-drive opener, unless the manual specifically calls for it. Some chain drives are pre-lubricated internally and should stay dry. Check the opener manual. If it calls for gear lubrication, use the specific product named. Most homeowners overdo this and fling grease onto the rail.
- Lock mechanisms, if you still have a manual lock. A graphite powder works here, not a wet oil. Wet lubricant attracts dust and eventually makes the lock stick worse.
The most common question is what product to use. In our experience, a silicone-based garage door lubricant or white lithium grease works for hinges and springs. WD-40 is not a lubricant for this application. It is a water displacer and will dry out the parts you applied it to, making them noisier in a month. If you work on a garage door opener repair and the manual recommends a specific product for the rail, use that and nothing else.
How to Inspect Garage Door Cables with Just a Flashlight
Garage door cables carry the entire tension load of the door. When a cable fails, the door slams down on one side, and that is how people get hurt and doors get destroyed. The scary part is that cables rarely fail without warning. The warning is visible for weeks or months before the break, but only if you know what to look for. Here is how to do a proper visual inspection in low-light garage conditions with nothing but a flashlight.
- Close the door completely. This puts maximum slack on the cables and makes the individual strands easiest to see. If the door is open, the cable is tight and defects hide in the twist.
- Turn off the garage lights. This sounds counter to the task, but overhead fluorescent or LED light creates glare on the steel cable. A single flashlight held at a low angle makes broken strands stand out because they cast tiny shadows.
- Start at the bottom bracket. The bottom bracket is the metal fitting bolted to the bottom panel on each side where the cable attaches. This is the highest-stress point. Look for rust, flattened strands, or a cable that has begun to pull out of the crimped loop. Run your eyes, not your fingers, along the cable. A frayed strand can puncture skin.
- Follow the cable upward slowly. Keep the flashlight at a forty-five degree angle to the cable. Look for any point where the cable’s surface changes from smooth to fuzzy. A single broken strand reflects light differently. It looks like a tiny, bright whisker sticking out of the twist.
- Look at where the cable wraps onto the drum. The drum is above the spring on the torsion bar. Check that the cable wraps evenly and does not ride over itself. A cable that stacks on one side of the drum means the drum is slipping or the cable has stretched unevenly.
- Check for rust staining on the cable. Surface rust is cosmetic at first. Rust that has eaten into the strands is structural. A rusted cable loses strength at an unpredictable rate. In Yorba Linda’s generally dry climate, significant rust on an indoor cable usually means the garage retains moisture, often from a water heater nearby or poor ventilation.
Do not touch the cable. Do not try to unwind it, re-wrap it, or “fix” a frayed section. The spring system holds enough tension to break bone. If you see any of the signs above, leave the door closed and call a professional. This is not a task that resets with maintenance. If the cable is compromised, the door should not be run until it is replaced. Sierra Garage Door Service replaces cables as part of routine garage door repair, and we always replace cables and springs as matched components, never one side alone.
Bottom Seal and Weatherstripping in Yorba Linda’s Summer Heat
The bottom seal under a garage door is a wear item with a predictable lifespan. In Yorba Linda, that lifespan is shorter than in coastal areas because of the summer heat and intense direct sun on south- and west-facing garage doors. The rubber or vinyl compounds used in bottom seals are formulated to resist cracking, but repeated thermal expansion and UV exposure eventually harden them. A seal that is still black and pliable in February can be brittle and cracked by September.
Here is what the degradation timeline looks like and what to check:
- First year: Seal is soft and compressed evenly against the concrete. It keeps leaves, dust, and the occasional lizard out. No action needed beyond looking at it during the monthly pass.
- Years two to four: Hairline cracks appear at the fold where the seal flexes every cycle. The material begins to lose its spring-back. The seal still works, but it is no longer making perfect contact at the corners. This is when you start seeing a line of light under the door in one spot.
- Years four and beyond: The seal has gone stiff. Cracks widen. On south-facing doors in Yorba Linda, we often see chunks missing at the outside corners. The door still opens and closes fine, but it is no longer sealing against dust, hot air, or pests. This is the point where replacement is the only real fix.
The test: Close the garage door in the daytime. Stand inside with the lights off. Look for daylight under the door. A continuous gap the height of a pencil is enough to let in hot air and dust from the Santa Ana winds. A seal that leaves daylight in the corners but touches in the middle is also failing. The concrete slab has settled slightly, and the seal has hardened to a fixed shape instead of conforming.
What we see in Yorba Linda specifically is accelerated UV breakdown on doors that face the afternoon sun. Homes in neighborhoods like East Lake Village and Bryant Ranch often have garage doors with southern or western exposure, and those seals degrade noticeably faster than doors on shaded or north-facing garages. The fix is a new bottom seal, and it is one of the least expensive parts of a garage door system to replace. It is also one of the most commonly ignored. When you replace it, make sure the seal is rated for exterior use and wide enough to cover the existing gap. A seal that is too narrow will leave gaps at the corners even when new.
Which Maintenance Tasks Protect Your Warranty and Which Void It
Garage door warranties are surprisingly specific documents, and homeowners find out too late which actions keep coverage intact and which ones cancel it. We work on doors from Amarr, Wayne Dalton, Craftsman, and Raynor, and while each brand has slightly different fine print, the patterns are consistent.
What protects your warranty:
- Documented professional installation. Most major brands including Amarr and Wayne Dalton require installation by a licensed professional for full warranty coverage. If you installed the door yourself, or a handyman without credentials did it, the warranty may be limited or void from day one. Keep the installation paperwork.
- Lubrication of moving parts as specified. Amarr explicitly recommends lubricating rollers, hinges, and springs on a schedule. Document it. If you can show you did the maintenance, a warranty claim for a part failure is much easier.
- Replacement with compatible parts. When you replace rollers, cables, or springs, the parts must be rated for your door’s weight and size. Using a cheap spring from a big-box store on a Wayne Dalton door because it “looks the same” can void the warranty on the rest of the mechanism if it causes damage.
- Annual professional inspection. Some warranties specifically mention an annual inspection by a qualified technician. Even when they don’t, a paper trail of inspections strengthens a claim. This is worth doing in Yorba Linda if your door is still under warranty and faces heavy sun exposure.
What voids your warranty:
- DIY spring replacement. This is the big one. Every major manufacturer voids the warranty on a door if the springs are replaced improperly or with non-OEM parts. This is not about protecting their parts business. A spring that is the wrong size or installed incorrectly damages the door, the opener, and the cables within weeks. The warranty exclusion protects them from paying for damage you caused.
- Using the wrong opener. Installing a heavy-duty opener on a lightweight door, or vice versa, causes the door to cycle incorrectly. The opener force fights the door’s natural balance. This voids both the opener warranty and often the door warranty for related damage.
- Modifying the door structure. Cutting panels, adding windows after installation, or bolting heavy hardware to an insulated door changes its weight and balance. Any structural modification typically voids the warranty for the altered panel and any damage caused by the imbalance.
- Neglecting visible damage. This is the one that surprises people. If you let a cracked roller fail, and the roller then scores the track and bends a panel, the manufacturer will argue the panel damage was caused by neglect of a related component, not a manufacturing defect. The warranty denial sticks. Keep the monthly checklist going even when the door is new.
The bottom line on warranties is simple: do the maintenance the manual says, keep the paperwork, and never bypass the professional for tension-loaded components. If your Amarr or Raynor door has an issue while under warranty, replace the failed part with an OEM or equivalent-rated part. It is cheaper than losing the warranty on a door that cost several thousand dollars.
Biannual and Annual Garage Door Maintenance Steps
The monthly pass is about spotting problems. The twice-a-year and annual passes are about preventing them and evaluating system health. Here is how to structure it.
Every six months:
- Lubricate the specific parts listed in the lubrication section. Spring and fall are good markers. In Yorba Linda, spring service makes sense because the door is about to cycle heavily through summer. Fall service catches any heat damage from the summer months.
- Clean the photo-eye sensors. The sensors sit on each side of the door near the floor. Dust, cobwebs, and grass clippings build up on the lenses. Wipe them with a dry cloth. If the opener starts reversing unexpectedly or refuses to close, dirty sensors are the most common cause.
- Tighten visible hardware. A garage door moves constantly, and vibration loosens bolts over time. Check the bolts on the hinges, the track brackets, and the opener rail. Use a socket wrench, not a power driver. Overtorquing bolts strips the metal.
- Inspect the weatherstripping on the sides and top. The perimeter seal around the door frame hardens and pulls away from the wood or stucco. Inspect it when you check the bottom seal. This is a cosmetic part, but it keeps dust out during Santa Ana wind events.
Once a year:
- Test the auto-reverse mechanism. Place a two-by-four board flat on the floor in the center of the door opening. Close the door with the opener. It should reverse within a second or two after touching the board. If it does not reverse immediately, the opener force setting is wrong or the safety system is failing. Do this test once a year with a real object, not your hand. Your hand gives way. A child does not. Also wave your hand in front of the photo-eye beam while the door closes. If the door does not stop and reverse, call for service.
- Lubricate the opener rail if the manual calls for it. Some screw-drive and chain-drive openers from Genie and LiftMaster need periodic rail lubrication. Check the manual. A dry screw-drive rail makes a terrible grinding noise and wears the carriage.
- Inspect the panels for rust on steel doors. On a Craftsman or Wayne Dalton steel door, check the panel seams where water can sit after rain. Surface rust in the seam spreads. A small rust spot treated with a rust converter and touched up with matching paint adds years to the panel. Ignored, it becomes a hole.
- Check the door balance again, slowly. Release the opener and raise the door by hand. It should move smoothly and stay at any point between floor and fully open. If it is heavier at the bottom or top of the travel, the springs are wearing unevenly. A door that used to hold at midpoint and now drops is telling you the springs are nearing the end of their cycle life.
- Call for a professional inspection if the door is over ten years old. This is the point where springs are usually past their rated cycle life, rollers are worn, and cables have been running long enough to develop hidden fatigue. A professional inspection catches the failures that are not yet visible. We do these for Yorba Linda homeowners, and the most common finding on doors over ten years old is a spring that has lost measurable tension but has not yet broken.
Common Mistakes to Avoid
- Lubricating the tracks. This is the most common mistake we see on service calls. Greasy tracks collect dust and grind it into a paste. The tracks should stay clean and dry. If you have already greased them, wipe them down with a degreaser and a dry rag.
- Using WD-40 on everything. WD-40 is a solvent. It strips the existing lubricant off hinges and springs and evaportes, leaving the parts drier than before. Use a silicone-based garage door lubricant or white lithium on hinges, springs, and roller bearings.
- Replacing only one spring. Garage doors with two springs are balanced as a pair. The springs wear at the same rate. If one breaks, the other is close behind. Replacing one saves money today and costs more in labor later because the technician has to come back. Always replace springs as a matched pair.
- Ignoring a noisy door. A door that gets a little louder each month is telling you something. The noise comes from a specific part. Waiting until the noise becomes a bang means the part failed and damaged something else on its way out.
- Testing the auto-reverse with your hand. Your hand is soft and gives way under pressure. The opener’s safety system may be failing and you would not know it because your hand moves. Use a two-by-four or a similar solid object. Test once a year.
- Painting over rust without treating it. A rust spot on a steel panel will return through the paint in a year. Use a rust converter, then a primer, then touch-up paint. This is a twenty-minute job that adds significant life to a Wayne Dalton or Craftsman steel door.
- Overtightening track bolts. A power driver set too high strips the bolt holes or warps the track. Hand-tighten until the bolt is snug, then a quarter turn more. The track needs to stay true, and overtightening pulls it out of alignment.
When to Call a Professional
Some maintenance tasks are safe and straightforward. Others are not. Any work involving the torsion spring carries the risk of serious injury. The spring is under enough tension to break bones or worse if it releases unexpectedly. Do not attempt to adjust, replace, or “tighten” a torsion spring yourself. If the door is out of balance and you can see the spring is not the problem, the cables or the drum may be failing. Those are under the same tension and should be handled by a technician. If the door comes off the track, jagged metal edges can cut, and the door is heavy enough to cause injury. Do not try to muscle it back into place. If the opener is behaving erratically, the problem may be electrical, and a misdiagnosed opener can create a door that closes when it should not. Sierra Garage Door Service offers free estimates in Yorba Linda. Call (866) 282-5613 and we will diagnose it, give you a straight answer, and quote the repair before any work starts.
Frequently Asked Questions
Twice a year is adequate for most Yorba Linda homes. The mild winters and dry climate mean parts don’t seize from moisture, but summer heat accelerates wear on any metal-on-metal contact point. Lubricate the torsion spring, hinge pins, and roller bearings every six months using a silicone-based garage door lubricant. Avoid the track surface itself, which stays dry.
Basic DIY maintenance costs about fifteen to twenty dollars a year for a can of lubricant and cleaning supplies. A professional inspection in the Yorba Linda area typically involves a service-call fee that we apply to any repair you approve, and the written estimate sets the final price before work starts. Call (866) 282-5613 for current pricing on your specific door model.
No. Torsion springs are under extreme tension and can cause serious injury or death if they release unexpectedly. They also need to be matched precisely to the door’s weight and size, and the wrong spring damages the opener, cables, and panels within weeks. This is a professional repair, and every major brand, including Amarr and Raynor, voids the warranty if springs are replaced improperly.
That is usually a broken spring. The bang is the spring snapping under tension, and the door stops because the opener cannot lift the full weight without spring assistance. Stop using the door immediately. The cables may now be loose, and the opener is working against the full weight of the door. This is a same-day repair for most Yorba Linda homes, and we keep springs for all major brands on the truck.
Three to four years on doors with significant southern or western sun exposure. In Yorba Linda’s summer heat, the UV breaks down the rubber or vinyl compound faster than most manufacturer ratings suggest. Check for daylight under the door edge and replace when you see cracks or permanent gaps at the corners.
It depends on the spring’s age and the rest of the service history. Most brands cover springs for a limited period, often three to five years, and only if the door was professionally installed and maintained. If the spring is past the coverage window or the failure resulted from neglect, the cost is yours. Check your specific paperwork or have a technician inspect the door and document the condition for a claim.
The Bottom Line
A Yorba Linda garage door is a mechanical system with a lifespan, and that lifespan is determined by how well you catch the small failures before they become big ones. The monthly pass, the flashlight cable inspection, and the twice-annual lubrication routine are simple tasks that take minutes and prevent the majority of premature door failures. The parts that matter most are the ones generic checklists skip: the roller bearings, the cable strands, and the balance of the springs. Skip the track lubrication, test the auto-reverse with a two-by-four once a year, and never touch a torsion spring yourself. If you stay consistent, your door will outlast the average. If something looks wrong and you are not sure what it means, call us.
Written by the team at Sierra Garage Door Service, serving Yorba Linda since 2014.
See the difference
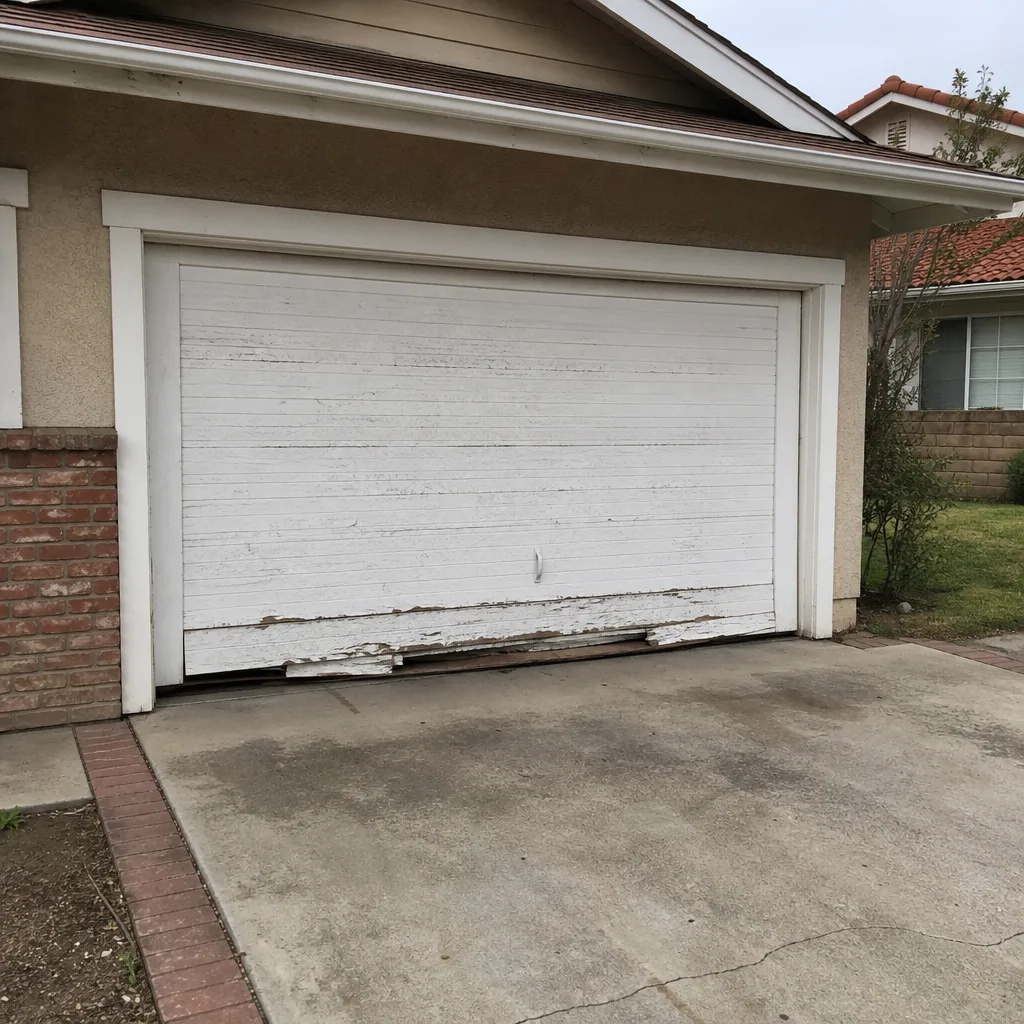 Before
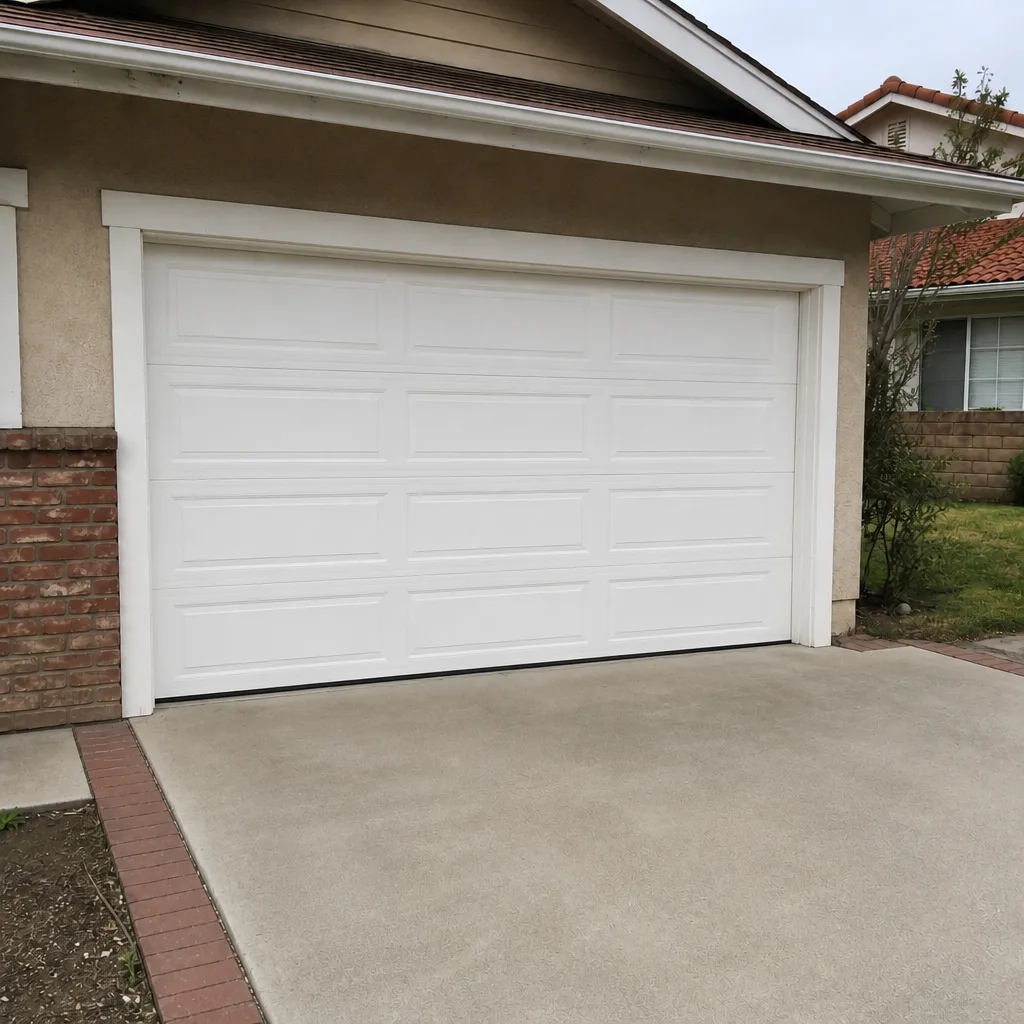 After
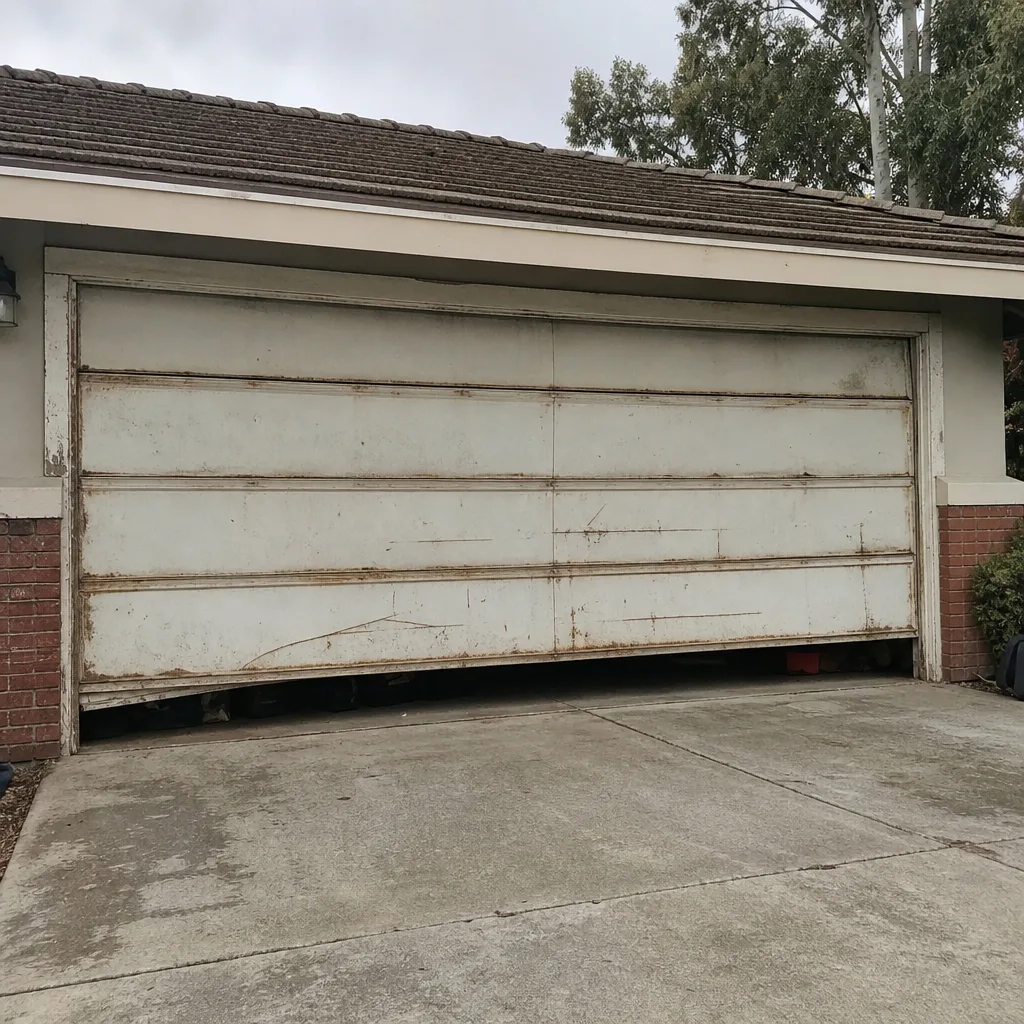 Before
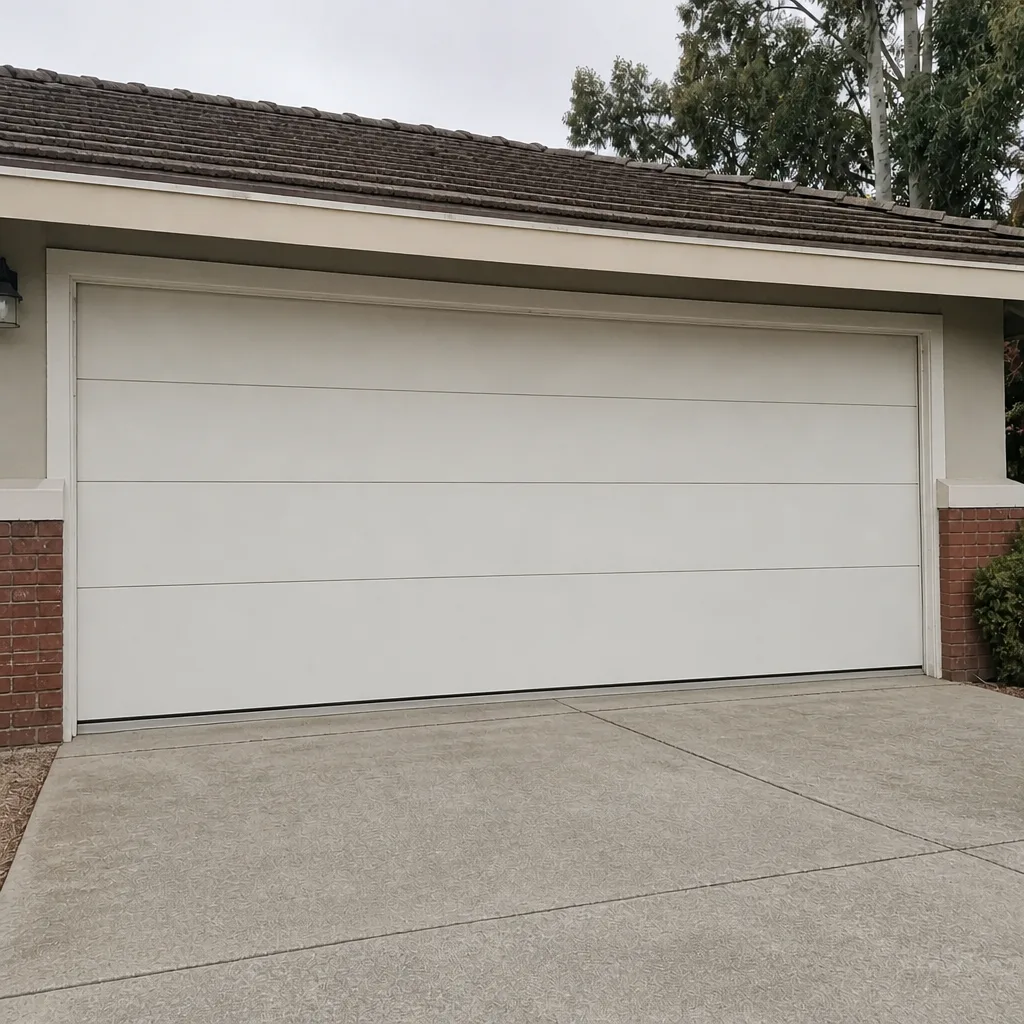 After
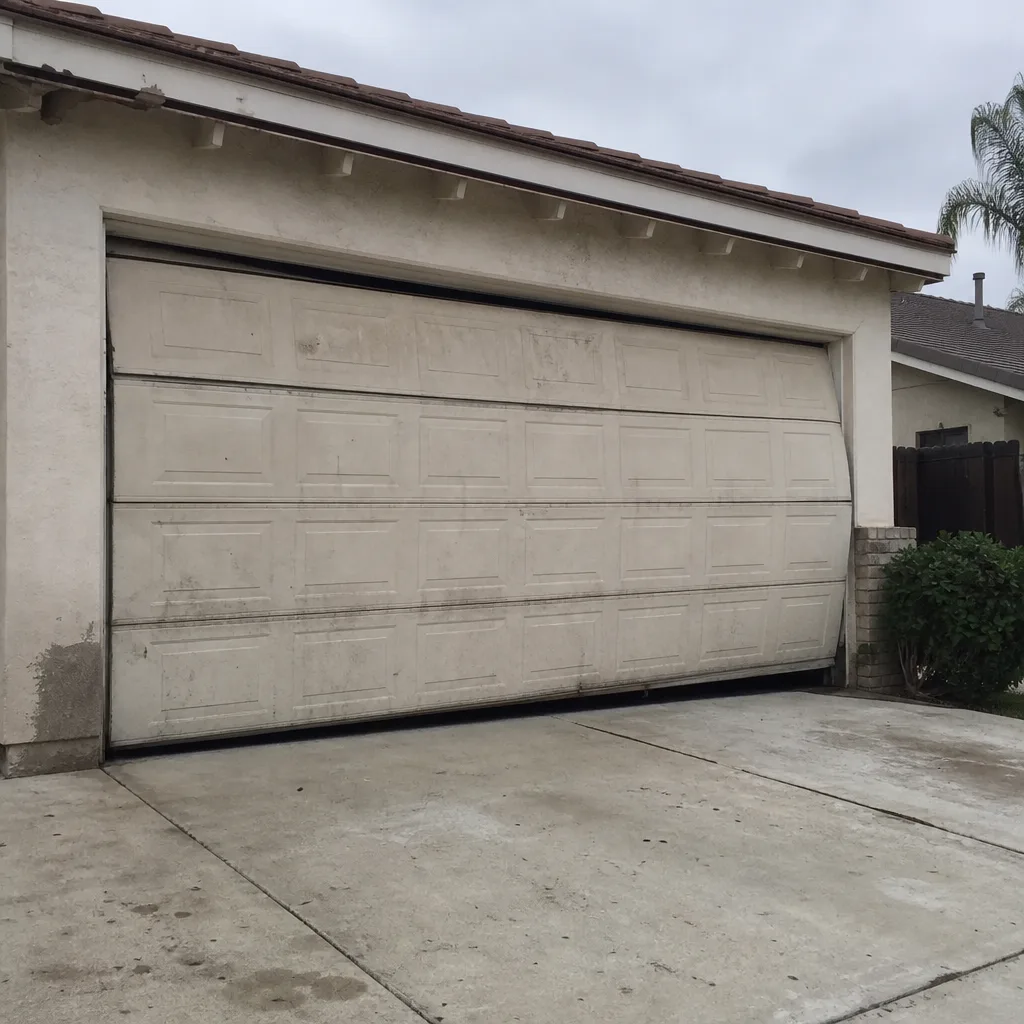 Before
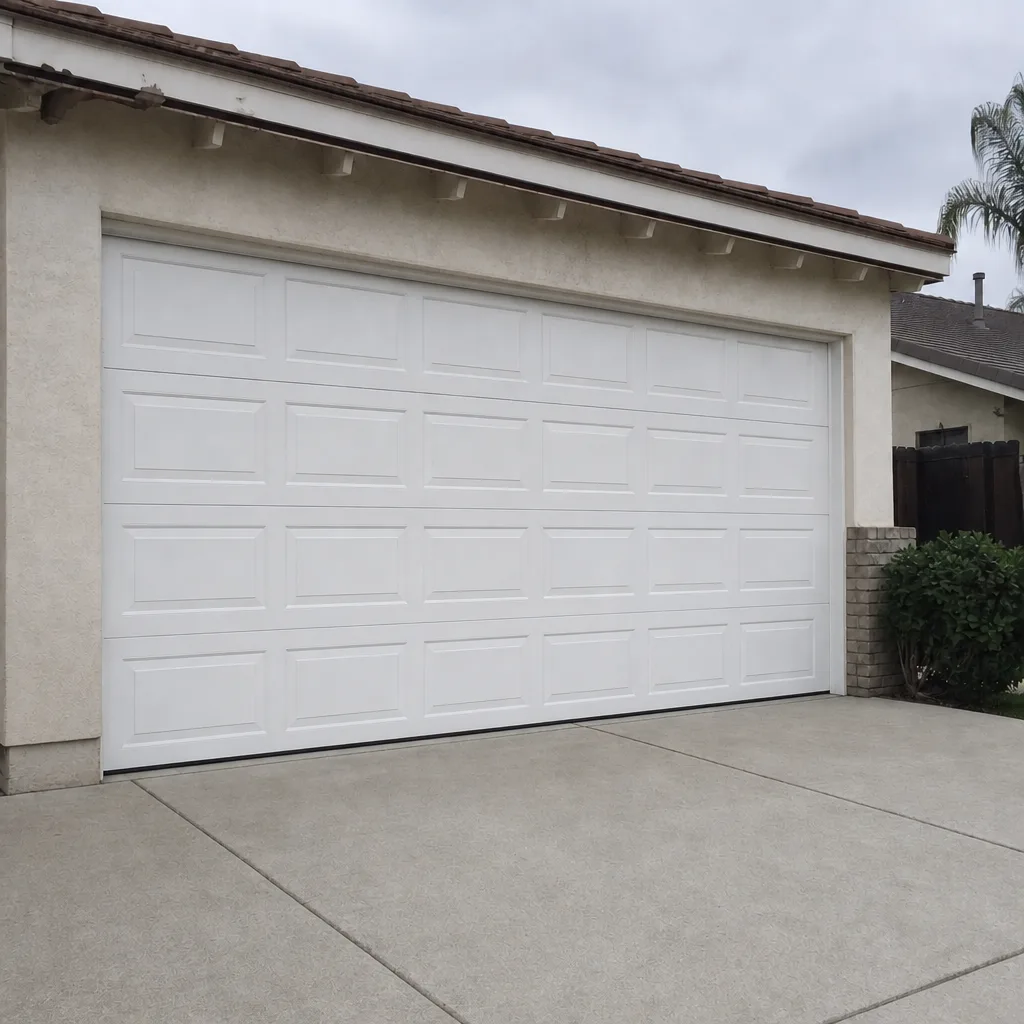 After