
Last updated November 4, 2026
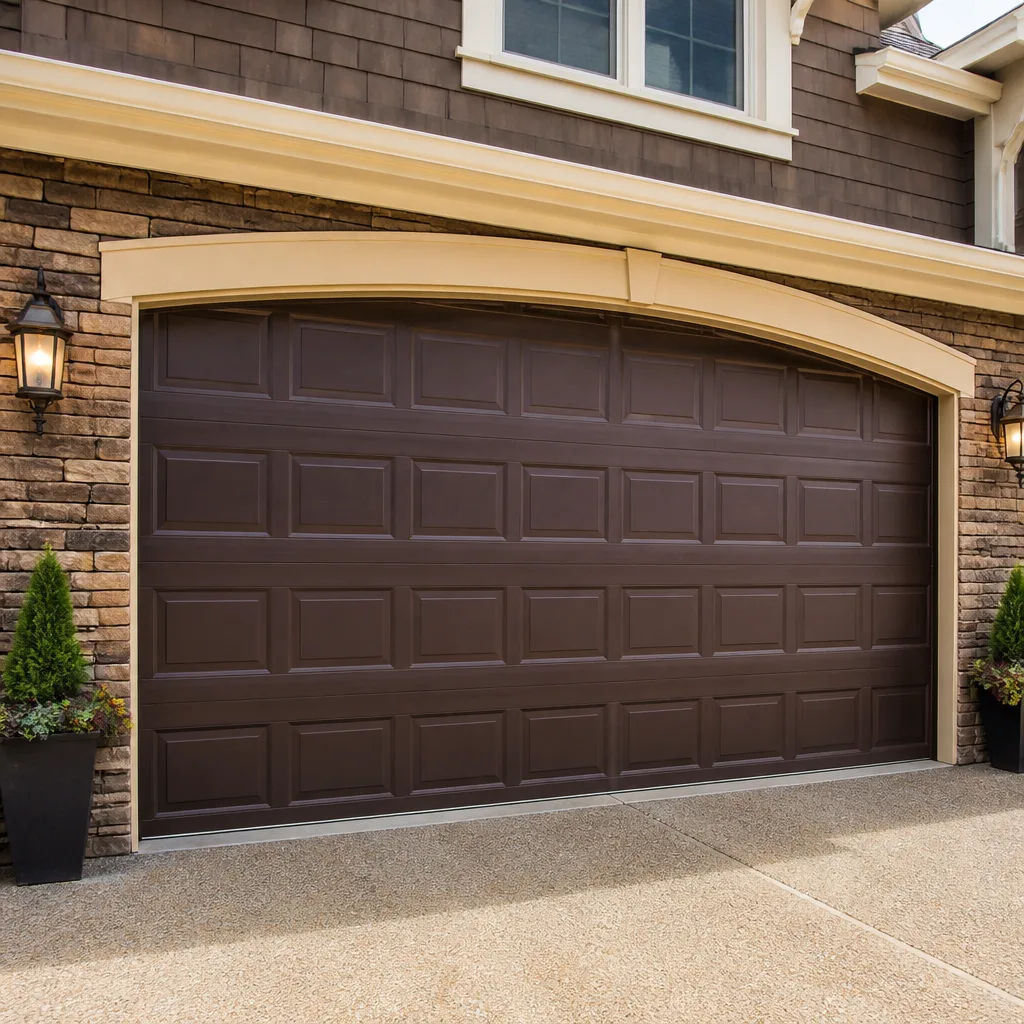 Raised-panel steel
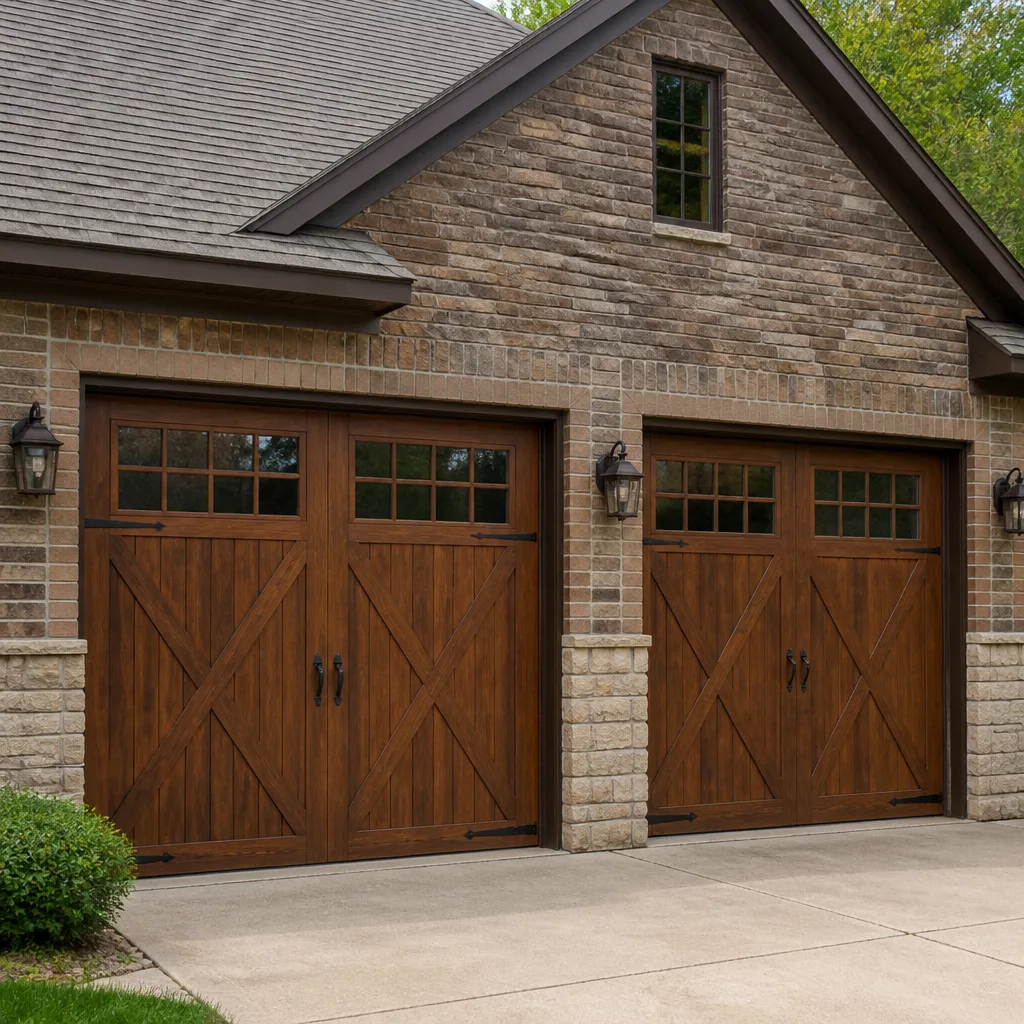 Carriage house
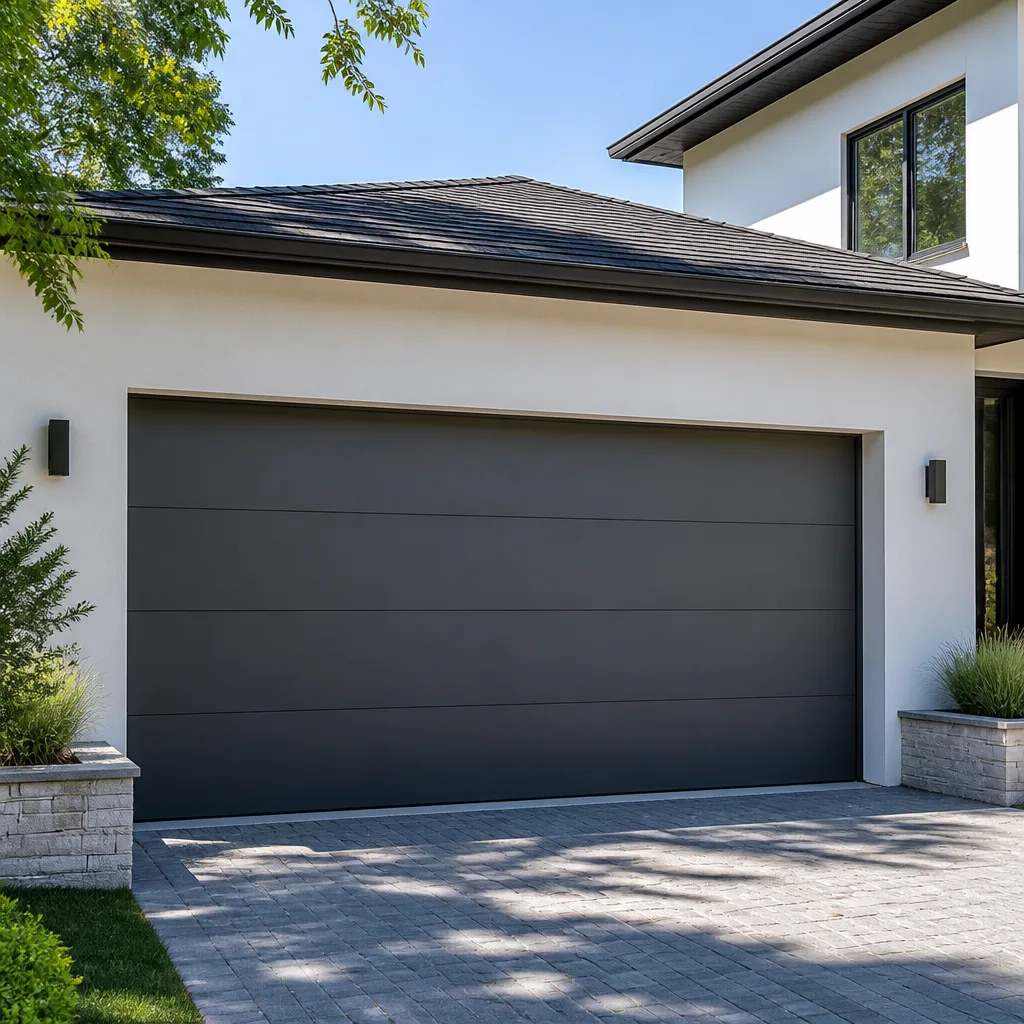 Modern flush
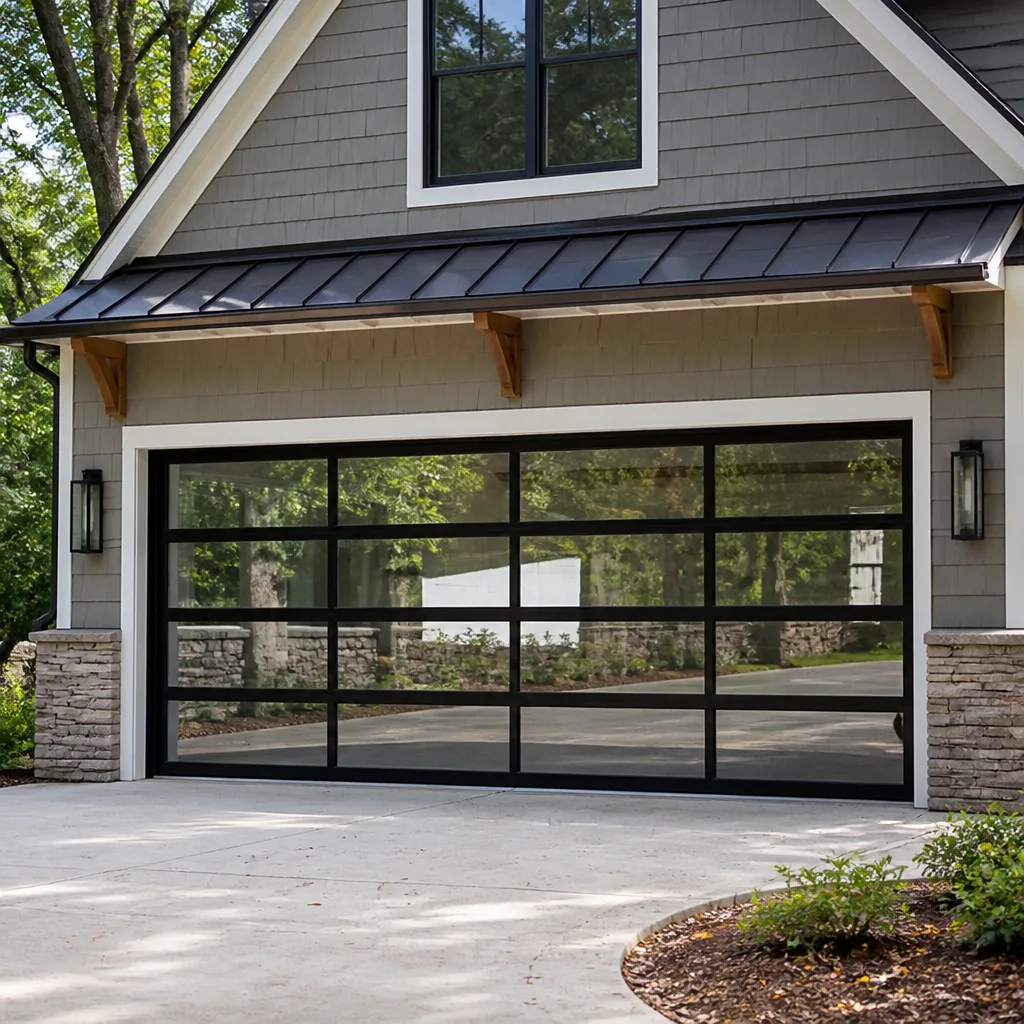 Full-view glass
 LiftMaster openers
 Chamberlain openers
Full 25-point door and opener safety check with every visit - springs, cables, rollers, tracks, and your LiftMaster or Chamberlain opener included
You get a price before we start. It does not change when the truck arrives.
Get your free estimateGarage Door Repair Maintenance Schedule: What to Do and When
Garage door springs are rated by cycle count, not years. The average Yorba Linda household burns through roughly 1,500 cycles annually, which means a standard spring has about seven years left from the day you move in, regardless of when it was installed. This guide will walk you through a straight, working schedule built around the real wear mechanisms of your door: spring cycles, opener strain, and how Southern California heat and wind age your hardware. You’ll learn what to check, when to check it, and how to turn five minutes of attention into avoiding a surprise spring failure at 7 a.m.
Styles & brands we work with
- Raised-panel steel
- Carriage house
- Modern flush
- Full-view glass
- LiftMaster openers
- Chamberlain openers
Quick Answer
A garage door in Yorba Linda should get a simple visual and safety check every three months, a deeper inspection every six months, and one annual lubrication and hardware tightening. The real difference-maker is tracking your spring cycles: at about 5,000 cycles, a standard torsion spring is in its final third of service life, and by 10,000 cycles, it’s borrowed time. Match your home’s usage (roughly 1,500 cycles per year for the average household) to replacements so the repair never becomes an emergency.
Table of Contents
- Why Cycle Count Beats Calendar Dates
- Month-by-Month Yorba Linda Maintenance Tasks
- The Right Lubricants for Each Component
- The 15-Minute Self-Inspection
- Normal Wear vs. Warning Signs at Each Milestone
- Hardware Tightening and Torque Schedule
- Opener Maintenance: What Falls Out of Adjustment
- Common Mistakes to Avoid
- When to Call a Professional
- Frequently Asked Questions
- The Bottom Line
Why Cycle Count Beats Calendar Dates
Every garage door spring, whether it’s a torsion spring mounted above the opening or an extension spring running along the tracks, carries a cycle rating. A cycle is one full open and one full close. So the door that goes up when you leave for work and down when you get home has already used two cycles before dinner. Add a trip to the grocery store, a teenager leaving for practice, or a spouse heading to the gym, and a Yorba Linda home can cross 1,500 cycles in a single year without anyone noticing.
This matters because the calendar tells you almost nothing. A door installed five years ago in a family of six may have seen more cycles than a door installed twelve years ago in a retired couple’s home. Here’s a practical breakdown of what each cycle milestone means:
- 0 – 500 cycles: New spring. No action needed. If you just moved into a new build in Yorba Linda, this is where you started, and maintenance is about lubrication only.
- 500 – 2,500 cycles: Early service life. This is the ideal time to establish a maintenance rhythm. Visual checks catch manufacturing defects early.
- 2,500 – 5,000 cycles: Mid-life. Most standard springs are rated for 10,000 cycles, so this is roughly the halfway point. A broken spring here usually means a defective part or improper installation, not normal wear.
- 5,000 – 7,500 cycles: The second half of the spring’s rated life. Surface rust on torsion springs matters more here. Cable wear begins to show. The door may drift slightly out of balance.
- 7,500 – 10,000 cycles: The final third. The spring has lost a measurable fraction of its original tension. Frayed cables become visible. This is the window when most Yorba Linda homeowners see a sudden, no-warning failure.
- Over 10,000 cycles: Borrowed time. The spring is running on metal fatigue, not rated capacity. If your door is heavy when disconnected from the opener, that’s the spring telling you it’s done.
If you don’t know how many cycles your door has, work backwards. Multiply the years you’ve lived in the home by 1,500, then add any years the previous owner used it, which you can estimate from the door’s build date. A standard 10,000-cycle spring lasts about seven years under average Yorba Linda usage, and high-cycle springs rated for 20,000 cycles stretch that to thirteen or fourteen years. The one number that matters more than age is tension: when a disconnected door feels heavy or opens partway on its own, the spring is no longer holding rated tension, and that failure is measured in weeks, not months.
Month-by-Month Yorba Linda Maintenance Tasks
The Southern California climate shapes a maintenance calendar around heat, wind, and very little rain. Yorba Linda homes don’t face the freeze-thaw cycles that split seals in colder markets, but the annual heat boom in late spring and the dry Santa Ana winds in fall do specific things to garage door hardware that a generic national checklist never mentions.
Here is the seasonal rhythm that matches what we see on doors in this area, whether they’re Clopay, Amarr, Wayne Dalton, or any other brand:
January and February: The Rainy Season Check
- Run a flashlight along the bottom weatherstrip. Southern California rain comes in short, intense bursts, and a cracked or flattened seal lets water pool under the door overnight. Dry rot on the lower panel edge follows within a season or two.
- Check the exterior bottom panel for paint bubbling or soft spots. This is about the only moisture-related damage Yorba Linda doors commonly show, and it starts here.
- Lubricate the torsion spring and hinges if you skipped it in fall. Cooler, slightly damp mornings are when metal-to-metal squeaks are loudest.
- Confirm the reversal mechanism trips when it hits a rolled-up towel on the ground. Wet concrete makes a door that fails to reverse a much bigger problem than it is in dry weather.
March and April: The Pre-Heat Inspection
- Inspect the torsion spring for surface rust. Dry air is kind to steel, but any scratch or chip exposes metal. A light coat of white lithium grease now prevents deep rust that shortens spring life.
- Check cable condition at the bottom brackets. Look for frayed strands and any rust bleeding through the cable wrap.
- Test the balance manually by disconnecting the opener and lifting the door halfway. It should stay put. A door that drops or drifts up needs spring tension corrected before the hottest months put extra strain on the opener.
- Inspect rollers for flat spots and wobble. Nylon rollers with exposed ball bearings wear faster in dry, dusty air, and replacing them is cheaper than rebuilding an opener motor.
May and June: The Heat Expansion Service
- Lubricate hinges, rollers, and the spring. This is the single most important service of the year in Yorba Linda. When ambient temperatures climb toward 90 degrees and a garage interior can cross 120, metal expands and unlubricated components wear measurably faster.
- Retighten the bolts on the track brackets and the lag screws on the opener rail. Heat expansion plus the daily vibration of a panel door loosens hardware, and a loose bracket is how a door jumps its track.
- Inspect the opener belt or chain tension. Heat makes a chain droop slightly, and a chain that’s now slapping the rail needs adjustment. A belt rarely stretches, but the tension spring on the rail can shift.
- Confirm the safety sensors are still aligned. A garage door that runs on a slight angle or a child’s bicycle nudging a sensor bracket is enough to leave the door refusing to close in June.
July through September: The Summer Watch
- Keep an ear on the door’s sound. Any new grinding, thumping, or screeching in summer means a component is running hot and dry. Address it within days, not months.
- Check the opener’s force settings. If the door now pauses or reverses on its own, the opener is working harder against the heat, and the root cause is usually a door that’s drifted out of balance, not an opener problem.
- Look for panel warping on sun-exposed doors. Dark-painted steel panels absorb direct afternoon heat, and doors that face west in Yorba Linda can show noticeable bowing over a few summers. Warped panels aren’t repairable; they’re a replacement item, and catching the first signs early helps you budget.
October and November: The Post-Santa Ana Wind Checks
- After the first strong Santa Ana event, retighten the track brackets and hinge bolts. Sustained wind gusts put lateral load on the door that daily up-and-down use doesn’t, and hardware loosens in ways that surprise homeowners.
- Inspect the weatherstrip seals on the sides and top. Santa Ana winds carry fine dust that works its way between the vinyl seal and the jamb, and the seal itself can tear or pull loose.
- Realign the safety sensors if autumn yard work has shifted anything near the door.
- Clean the photoelectric sensor lenses with a dry cloth. Fall dust is the usual cause of an intermittent “door won’t close” complaint this time of year.
December: The Year-End Review
- Run through the full 15-minute self-inspection below and note anything that changed over the year.
- Lubricate once more before the cooler, damper mornings of January.
- Check the bottom weatherstrip after summer heat and fall wind have done their damage. Flattened rubber won’t recover, and replacing it before the rainy season is a small, worthwhile expense.
- If the door is over ten years old and still on original springs, schedule a professional inspection. Springs don’t announce themselves before breaking, so knowing your cycle count is the only reliable predictor.
The Right Lubricants for Each Component
Lubrication is the one maintenance task every homeowner can do correctly, and it’s the one most people get wrong. The problem is almost always the product. WD-40 is a water displacer, not a lubricant, and when it’s sprayed on nylon rollers or rubber seals, it breaks down the material and shortens component life by months or years in Southern California heat. The rollers on modern garage doors, including most Clopay and Amarr models, are nylon with exposed or sealed ball bearings, and they fail faster in dry, dusty environments when the wrong product touches them.
Here’s the correct product for each part:
- Torsion spring: White lithium grease. It coats the coil surface, works into the gaps, and holds up under the 120-plus-degree garage temperatures a Yorba Linda summer produces. A thin, even coat twice a year is sufficient. A spring dripping with grease attracts dust and runs dirt into the coil contact points.
- Hinges: White lithium grease or a silicone spray. The pivot pins on the hinge joints are the wear surface, and a drop on each pin, not a soaking spray, is the right application.
- Nylon and steel rollers: Silicone spray or a light machine oil, never WD-40. For rollers that have exposed ball bearings, a drop of light oil on each bearing extends life more than any other home maintenance step. Rollers with sealed bearings don’t need internal lubrication, just a dry wipe of the wheel surface.
- Track: Nothing. Garage door tracks should stay clean and dry. Grease on the track collects dust, creates a grinding paste, and causes more resistance than it solves. Wipe tracks with a clean cloth. If they’re coated in old grease, use a degreaser and then leave them dry.
- Weatherstrip and seals: A rubber or vinyl protector, not WD-40. Silicone-based rubber conditioners keep the seal flexible through heat and wind. Door manufacturer recommendations vary, so check the manual for your specific door, whether that’s a Wayne Dalton, a Clopay, or another brand.
- Lock and striker plate: Graphite powder or a dry silicone lubricant. Oil here attracts dust and gums up the mechanism.
Lubrication frequency in Yorba Linda should be twice a year as a baseline: once in spring before the heat, once in late fall before the rain. A door that opens and closes more than five times a day, which is common in homes with multiple drivers, gets a third application in midsummer. The rule we use: if a hinge squeaks, it needed lubrication a month ago. Hear it, fix it that week.
The 15-Minute Self-Inspection
This is the maintenance work that catches about 80 percent of imminent failures before they happen, and it takes less time than waiting for a technician. Run through these five checks every three months, or every six if the door is less than five years old. Wear work gloves for the manual tests, and keep your hands away from cables and springs at all times while the door is connected to the opener.
Step 1: The Balance Test (4 minutes)
- Pull the red emergency release cord with the door fully closed.
- Lift the door manually to about waist height and let go.
- A correctly balanced door stays still. One that drops or drifts upward has a spring that’s lost tension.
- Reconnect the opener by pulling the release again until it clicks, then run a full cycle.
This test reveals spring fatigue earlier than anything else. It’s also the test that tells you whether your opener is doing more work than it should, and an overworked opener is a failed opener in the making. For doors with extension springs, look at the safety cable running through the spring: if it’s slack, the spring needs replacement, not adjustment.
Step 2: The Reversal Force Test (3 minutes)
- Place a solid object, like a block of wood or a brick wrapped in a towel, flat on the ground under the door’s path.
- Close the door using the opener.
- The door must reverse within two seconds of contact with the object. If it keeps pressing down, the safety mechanism is set wrong and needs immediate attention.
- Open the door and remove the object.
A door that crushes the object instead of reversing is a serious safety hazard, full stop. This isn’t a maintenance item to defer. The reversal system is a federal safety requirement, and a door that’s lost this function needs professional repair before the next use.
Step 3: Visual Cable Inspection (3 minutes)
- With the door closed, look at the cables running from the bottom brackets up to the spring system.
- Look for frayed strands, rust staining, or any looseness where the cable wraps around the drum.
- Look at the bottom brackets themselves for cracking or pulling away from the door.
- Never touch the cables. They hold the full tension of the spring, and a frayed cable can snap without warning.
Frayed cables are the most reliable visual predictor of a door that will fall or jam. Catching one frayed strand at the three-month check means a $20 cable replacement. Catching it when the cable snaps means a door off its tracks and a repair that costs several times more.
Step 4: Sensor Alignment Check (2 minutes)
- Look at the two photoelectric sensors near the bottom of the track on each side of the door.
- Each sensor has a small LED light. Both should be solid, not blinking.
- If one blinks, it’s misaligned or blocked. Gently adjust the sensor until both lights are solid.
- With both lights on, close the door and wave your hand through the beam near the bottom. The door should reverse.
Sensors get bumped by bicycles, trash cans, and lawn equipment. A blinking sensor is the cause of roughly half of all “garage door won’t close” complaints, and it’s a two-minute fix when you catch it early.
Step 5: Sound and Sight Walkaround (3 minutes)
- Open and close the door once while standing inside the garage.
- Listen for grinding, thumping, scraping, or any new sound.
- Watch the door as it travels. It should move smoothly on both tracks at the same speed, with no jerk at the start or end.
- Look at the panels. New dents, cracks, or separation at the seams are signs of a structural problem.
- Check the opener rail. If the belt or chain is loose, sagging, or rubbing the rail, it needs adjustment.
If the door passes all five steps, you’ve caught nothing, and that’s the point. Most three-month checks find everything is fine, and the discipline is what matters. If you find something in any step, write it down, note whether it’s changing over time, and call for a professional assessment if it’s a balance, cable, or reversal issue.
Normal Wear vs. Warning Signs at Each Milestone
Three related problems happen to every garage door in Yorba Linda eventually, and they’re easy to confuse with normal wear. Here’s what’s fine, what’s a warning, and what means a component fails within the next 90 days.
Springs
- Normal at 2,500 cycles: A light coat of surface rust, some powder coating worn off where the coils rub together. This is cosmetic and normal on steel springs in any climate.
- Warning at 5,000 cycles: A visible gap appears between two coils at one spot on the spring. The spring has set, meaning it’s lost some of its original shape and tension. The door may feel heavy at the start of the lift and the opener may grunt slightly. Replace within six months if the door gets daily use.
- Imminent at 7,500 cycles: The gap between coils widens, the spring shows a fine crack at the surface, or the door drops hard on the balance test. A spring with a visible crack is a countdown timer, not a negotiating point. It fails without warning, usually when the door is open, which is when it holds maximum tension.
Cables
- Normal at 3,000 cycles: Slight discoloration from dust, a clean wrap on the drum, no looseness.
- Warning at 6,000 cycles: One or two individual strands have broken and are poking out from the cable’s lay. The cable is still holding, but it’s no longer at full rated strength. Replace the cable and inspect the drum for wear at the same time.
- Imminent at 9,000 cycles: Multiple broken strands, a bulge in the cable, or visible rust bleeding through the wrap. The cable can part under load, and when it does, the door panels above it can crack, the track can bend, and the door can come off its rollers. A cable this worn needs replacement before the door is cycled again.
Rollers
- Normal at 4,000 cycles: The nylon wheel shows some wear and the surface is dull, but the roller still spins freely and rides centered in the track.
- Warning at 8,000 cycles: The roller wobbles on its shaft, makes a clicking sound as it passes a certain point in the track, or has a flattened spot on the nylon wheel. Replacing the full set of rollers, even if only one shows wear, is cheaper than the track damage a seized roller causes.
- Imminent at 10,000 cycles: The roller has seized and is sliding, not rolling, which drags on the track and wears a groove into the metal. This is how doors come off their tracks. If a roller won’t turn, replace it that week.
Opener Drive
- Normal at 5,000 cycles: The belt or chain shows no slack, the opener responds immediately, and the force setting hasn’t changed since installation.
- Warning at 8,000 cycles: The opener hesitates at the start of a cycle, or reverses at the bottom of the close cycle without a visible obstruction. The gears inside the opener are wearing, and the motor is drawing more current to do the same work. An opener that’s laboring every cycle is a sign that the door itself, not the opener, is the root problem.
- Imminent at 12,000 cycles: The opener grinds, whines, or clicks during operation, or the door moves in short jerks. The plastic drive gear inside most openers is a sacrificial part that strips under load, and once it strips, the door won’t move at all. Openers from Chamberlain, Genie, and LiftMaster all share this failure mode when the underlying door falls out of balance.
The recurring theme across all of these: a component that’s failing fast always gives a visible or audible warning within the 90 days before it lets go. The catch is that you have to look. A door can run for months with a frayed cable and a clicking roller and still open every morning. The inspection schedule above is what transforms that silent countdown into a maintenance item instead of an emergency.
Hardware Tightening and Torque Schedule
Garage doors move more than any piece of hardware in a Yorba Linda home except maybe the washing machine, and every cycle is vibration. Four times a year, spend five minutes with a socket set and a wrench. The bolts that back out are always the same ones, and the fix is simple.
Work through these in order:
- Track brackets: The horizontal and curved tracks are held to the wall and ceiling with lag bolts into the framing. Two or three on each side. Check every bracket with a socket wrench; if a lag bolt turns with light pressure, it’s backing out. Tighten it back down. A loose track bracket lets the track flex under load, and a flexing track derails a door.
- Hinge bolts: Each panel connection has two to four bolts. These are usually thread-locked at the factory, but after several thousand cycles, the thread locker loosens. Check the bolts on every hinge, especially the bottom hinge, which carries the most weight and moves the most.
- Spring anchor bolts: On torsion spring systems, the springs are anchored to a center bracket and end plates. These bolts rarely need adjustment, but a quick confirmation that they’re snug is worth the thirty seconds. Do not attempt to adjust spring tension yourself. The check is visual and with a wrench on the bracket bolts only.
- Opener rail bolts: The rail bolts to the motor and to the header bracket above the door. Check both. The vibration of the opener motor loosens the header bracket over time, and a loose header bracket makes the whole opener wobble.
- Bottom bracket bolts: The bottom brackets hold the cables and attach to the door’s bottom panel. These are under maximum load. If any are loose, do not tighten them while the cables are under tension. Call a professional.
Santa Ana wind season in October and November is when we notice the most loose hardware in Yorba Linda. The lateral force of sustained gusts rocks the door in its tracks, and every bolt that was already marginal loosens faster. After a particularly windy week, a five-minute hardware check is more valuable than the same check in May.
Opener Maintenance: What Falls Out of Adjustment
The opener is the most failure-prone part of a modern garage door system, and most of its failures are rooted in the door, not the motor. An opener that’s properly matched to a balanced door will often run fifteen years with no service beyond a rail lubrication once a year. The same opener on a door with weak springs will burn through a drive gear in twelve months. When someone calls us about garage door opener repair, the diagnosis starts with the door’s balance, because an opener never wears out in isolation.
Here’s the opener-specific maintenance that belongs in your schedule:
- Chain drives: Check tension every six months. A chain that’s too tight strains the drive gear; too loose means it slaps the rail and wears the sprockets. Adjust per the manual to roughly a quarter-inch of deflection at the midpoint.
- Belt drives: These rarely stretch, but the tension spring on the rail can shift. Verify the belt sits centered on the sprocket and that the spring hasn’t moved from its original position.
- Screw drives: Lubricate the screw with low-temperature grease every year. The Sacramento heat doesn’t apply, but a Yorba Linda garage in August is hot enough to thin the wrong grease, and a dry screw drive whines and wears prematurely.
- Travel and force limits: These are set at installation and drift as the door’s weight changes from spring fatigue. Test the reversal force every three months as described above. If the opener reverses before fully closing, or doesn’t reverse when it should, the limits need professional adjustment.
- Safety sensors: Wipe the lenses monthly during dusty seasons. Misalignment from a bumped bracket causes intermittent failures that look like opener problems but are always a two-minute fix.
- Remote and wall pad batteries: Change remote batteries yearly. A weak battery causes erratic behavior that homeowners often misdiagnose as a receiver or motor problem.
Chamberlain and Genie openers share a common weakness: a plastic drive gear inside the motor housing that’s designed to strip before the motor burns out. When we replace that gear on a door that was recently lubed and balanced, the job is quick. When we replace it on a door that’s been fighting weak springs for a year, the opener usually needs more than one part. The maintenance lesson is simple: a balanced door is the best opener protection you can buy.
Common Mistakes to Avoid
- Lubricating the track: Grease on the track attracts dust and creates a grinding paste that wears rollers faster. Tracks should stay clean and dry.
- Using WD-40 on nylon rollers or seals: The solvent in WD-40 degrades nylon and rubber. What feels like a quick fix shortens component life by months, especially in dry Yorba Linda summers that already harden plastic and rubber parts.
- Ignoring a heavy door: When a door feels heavy during a manual lift, the spring has already lost tension. Continuing to use the opener means the opener is carrying the weight, and the failure that follows is more expensive than a spring replacement.
- Replacing one spring on a two-spring door: Torsion springs are installed in matched pairs, and both springs have the same number of cycles on them when one breaks. Replacing only the broken one means the other fails months later, and paying for a second service call to do the same job.
- Adjusting spring tension as a DIY fix: Torsion springs hold hundreds of pounds of tension, and the winding bars used to adjust them can snap back with enough force to cause serious injury. This is the one garage door task no homeowner should ever attempt.
- Deferring weatherstrip replacement: A flattened bottom seal lets water, dust, and pests into the garage. Rain in Yorba Linda comes in bursts, and a bad seal means standing water on the garage floor after every storm.
- Assuming age predicts failure: Springs and cables fail by cycle count, not years. A low-use door can run twenty years on original parts, and a high-use door can break a spring in four. Track cycles to know what’s coming.
When to Call a Professional
Some garage door work is maintenance, and some is repair, and the line between them is where people get hurt or make expensive problems worse. Call a professional for any spring work, including a spring that’s visibly cracked, a door that’s dropped on the balance test, or any adjustment to torsion spring tension. Call for any cable issue where fraying is visible or the bottom brackets are loose. Call for a door that’s come off its tracks, a panel that’s cracked through, or an opener that grinds instead of runs. These are not inspection items. They’re repair items, and the cost of a pro is less than the cost of a hospital visit or a second repair to fix a DIY attempt.
We service every major brand you’ll find in Yorba Linda garages, so no matter what you have, a technician can quote the repair honestly. Sierra Garage Door Service offers free estimates in Yorba Linda. Call (866) 282-5613 to set one up, and we’ll tell you what actually needs doing, not what’s easy to upsell.
Frequently Asked Questions
A garage door should get a full visual and safety inspection twice a year, plus a lubrication of the spring, hinges, and rollers. In Yorba Linda’s dry heat, two lubrications a year keeps metal-on-metal wear down, and we recommend a third in midsummer for doors that cycle more than five times a day. If you’re only going to do one thing, do it in May, before the peak heat accelerates every wear mechanism at once.
A professional maintenance visit in the Yorba Linda area is priced per job by written estimate, and the scope drives the cost. A basic inspection and lubrication lands on the lower end; a visit that catches a spring replacement or cable repair is a separate line item. Since maintenance visits are free to estimate, you’ll always know the quoted price before any work starts. Call (866) 282-5613 and we’ll walk through inspection costs and what we recommend based on what your door actually shows.
Yes, as long as you use the right products. A homeowner can safely lubricate the spring, hinges, and rollers with white lithium grease or a silicone spray, as described in the guide above. What you shouldn’t do is adjust spring tension, touch cables under load, or apply lubricant to the track. The first mistake shortens roller life; the other two are genuinely dangerous.
There’s usually only one reliable early warning: a spring that’s set will show a visible gap between two coils, and the door will feel heavy when you lift it manually. A loud bang when a spring breaks is the moment of failure, not a warning. That’s why the cycle-count math in this guide matters: if you know the door’s usage, you know when to replace springs proactively, before the gap appears.
It affects seals and nylon more than people expect. Rubber weatherstrip and nylon rollers harden over several hot, dry summers, and once they’re hard, they crack instead of flexing. The rate of degradation is why we call for a pre-summer inspection every May. It’s not a theoretical risk; it’s what we see on doors that haven’t been touched in five years.
Annual maintenance confirms everything is working and lubricates the moving parts. A repair inspection starts with a specific complaint: a noise, a failure to close, a sensor issue, a door that’s come off its tracks. The same technician has the same skills for both, but a repair visit is targeted at the failing component, and the written estimate reflects that. If a maintenance visit turns up a repair item, we quote it separately before any repair work begins.
Almost certainly. We service doors and openers from LiftMaster, Chamberlain, Genie, Clopay, Amarr, Wayne Dalton, Craftsman, and Raynor, among others. Brand-agnostic means we diagnose what’s in your garage, not what we’d prefer to sell you. For doors that need full replacement, a garage door repair visit can also quote a new system when the old one isn’t worth saving.
The Bottom Line
A garage door in Yorba Linda needs about thirty minutes of attention a year, split between two or three short inspections and a little lubrication. The schedule above works because it’s tied to how your door actually wears: cycles on the springs, heat on the seals and rollers, wind on the hardware. Track your cycles, check the balance and reversal every three months, lubricate the metal parts twice a year, and replace components when the warning signs say they’re within 90 days of failing rather than after they break. If the door is over seven years old or you’ve never run these checks, start with a professional inspection at Yorba Linda pricing, quoted before any work begins. Call (866) 282-5613 for a free estimate. We answer 24/7. Fast dispatch from 7am to 7pm, Sunday through Friday.
Written by the team at Sierra Garage Door Service, serving Yorba Linda since 2014.
See the difference
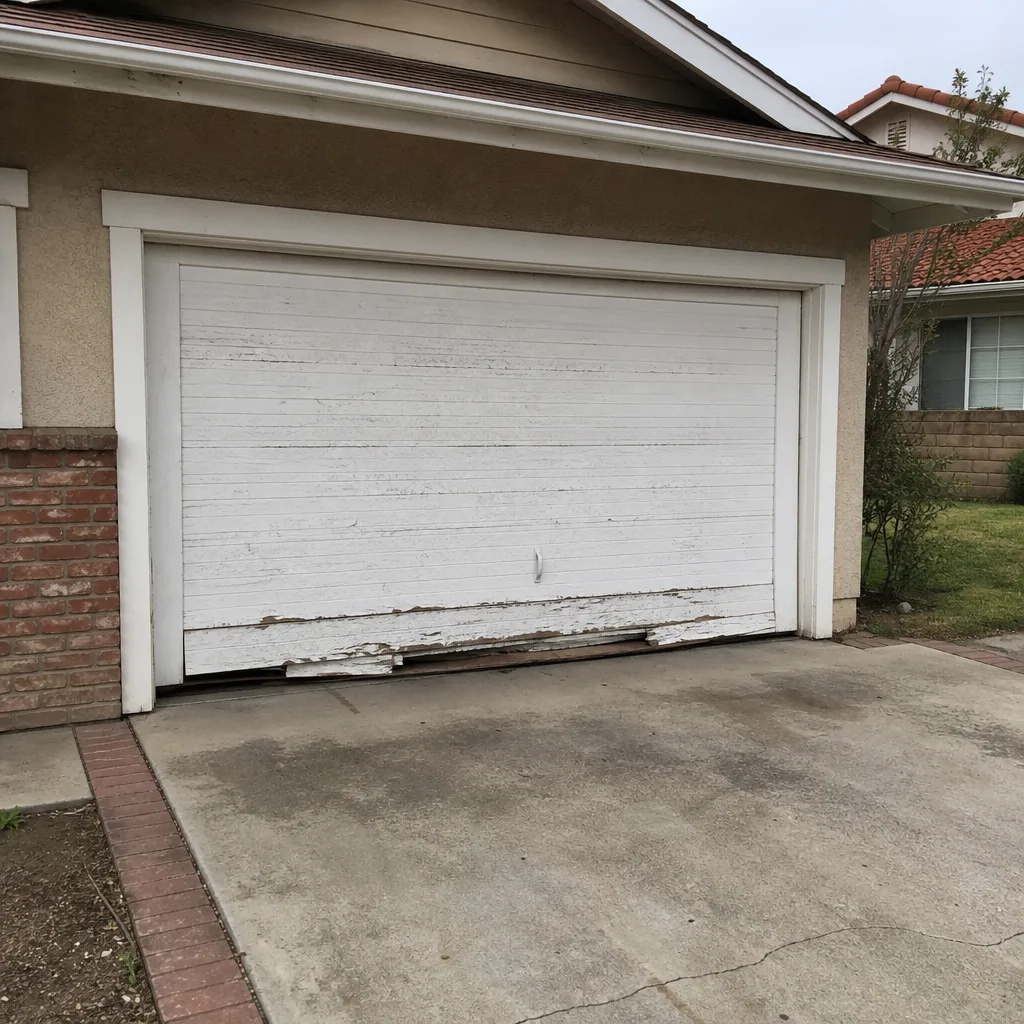 Before
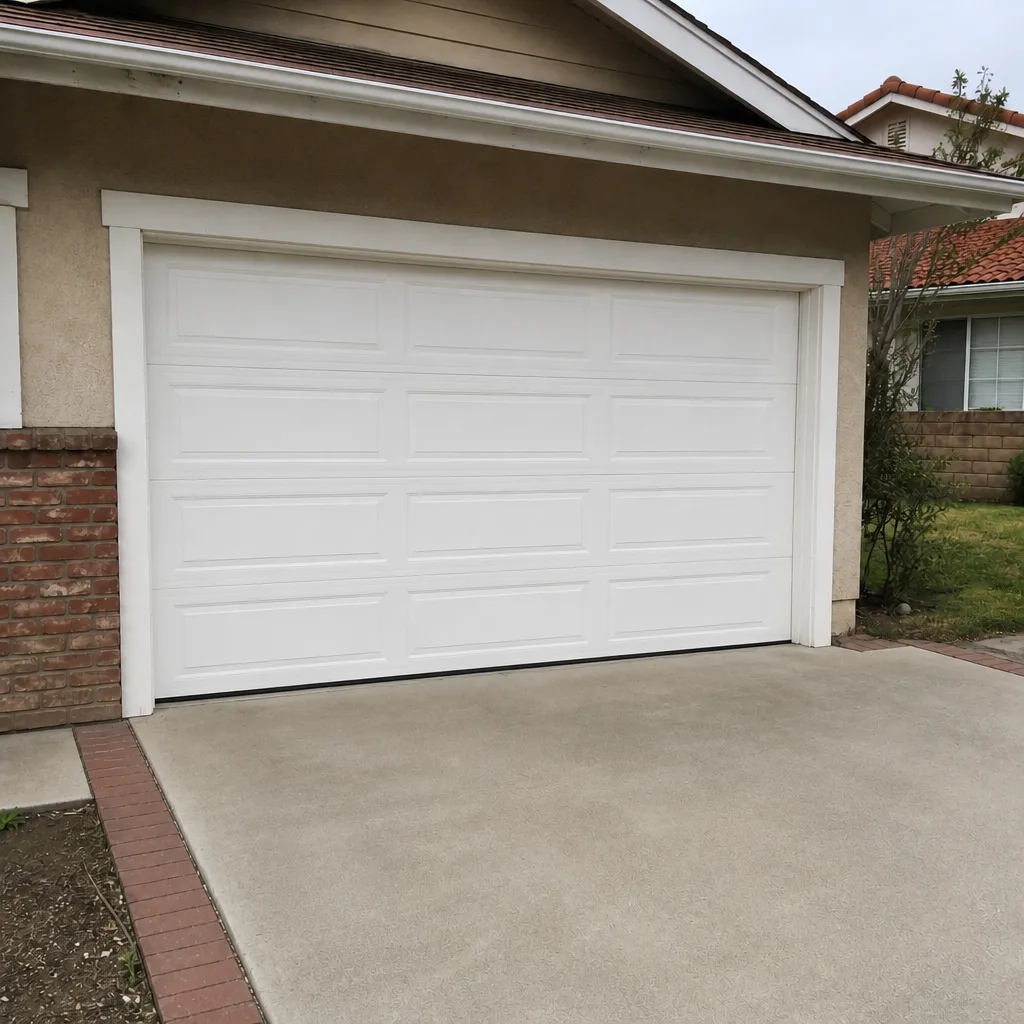 After
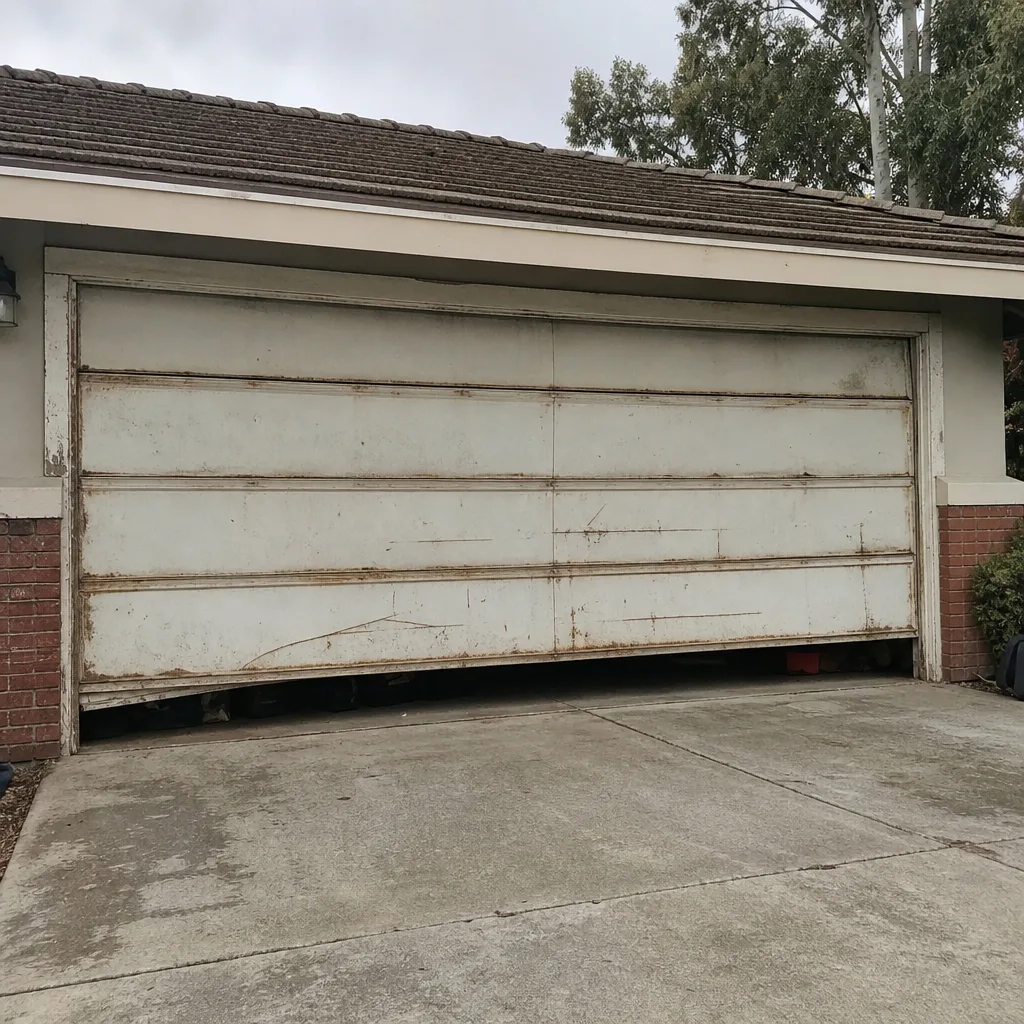 Before
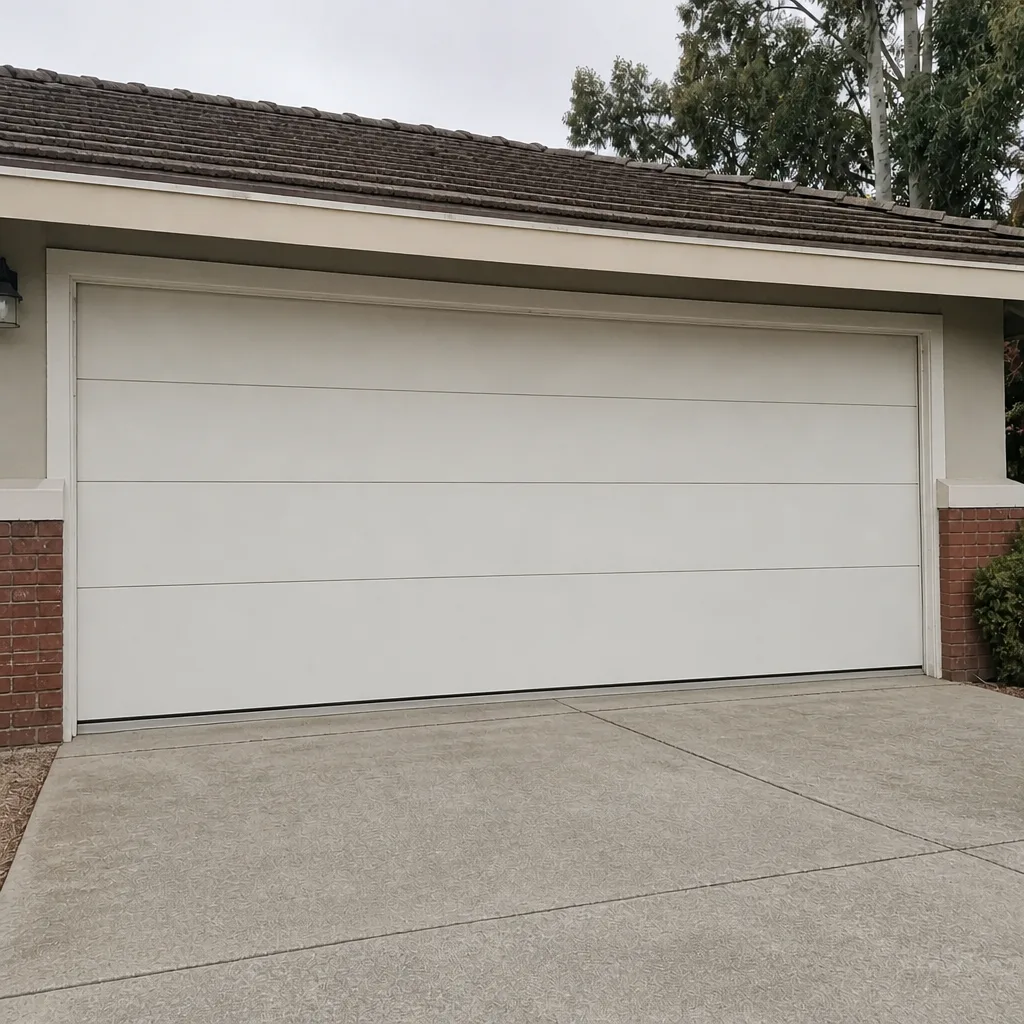 After
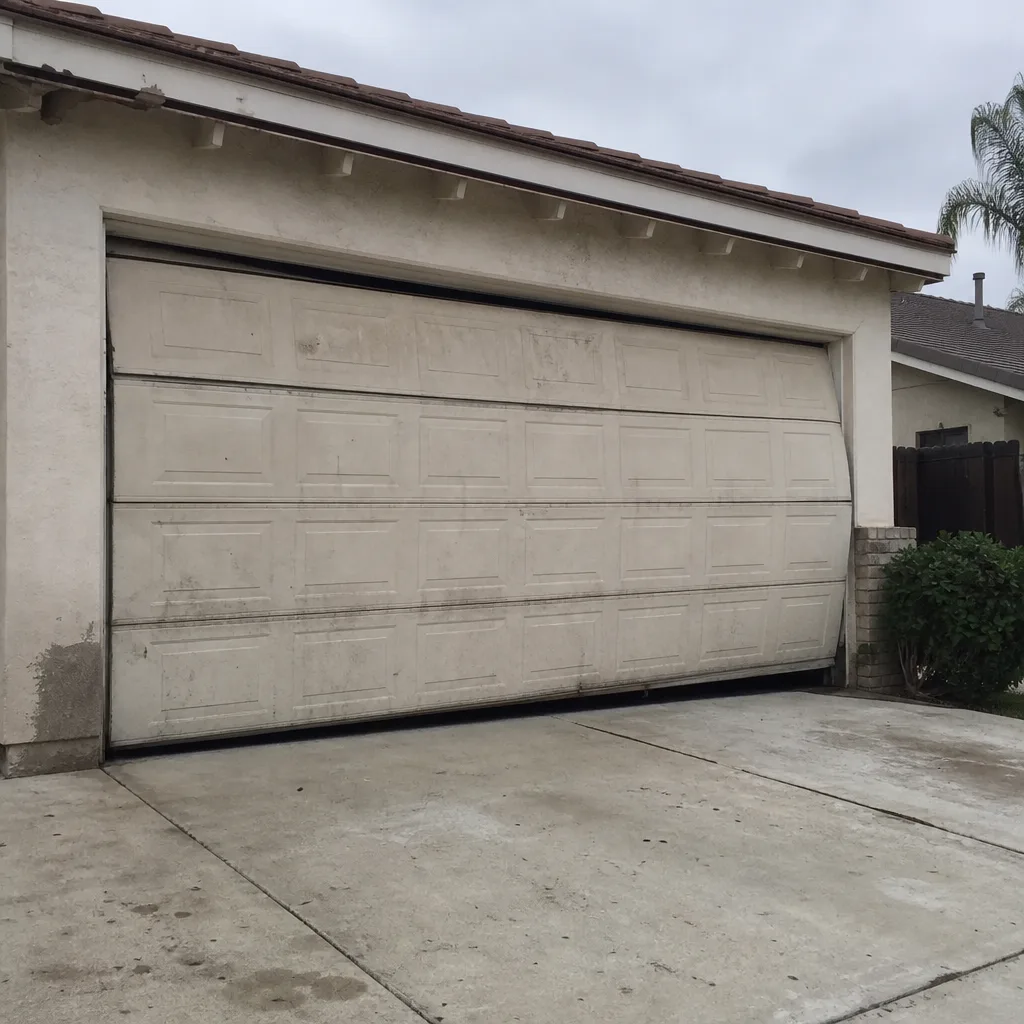 Before
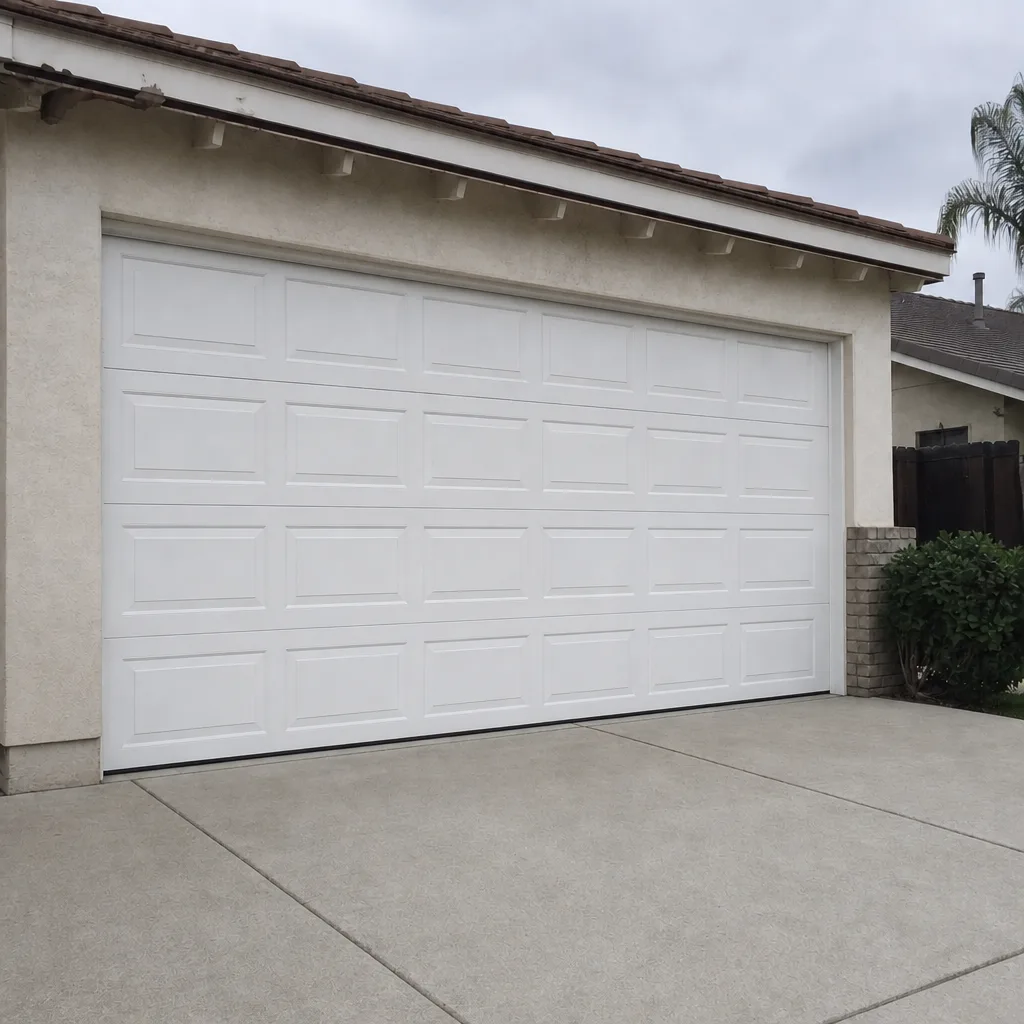 After